Kitchen Backsplash: Cost, Tools and Grouting Tips for Subway Tile
The short version
A kitchen backsplash is installed with 3×6 beveled white ceramic subway tile set in pre-mixed mastic, with costs listed for tile, adhesive, spacers, grout and a wet saw rental. It covers measuring square footage, planning the layout to avoid slivers, setting tile from the center, cutting with a wet saw, and grouting. The hosts also describe how their grout set up too fast and explain cleaning, shaping the joints and waiting for the grout's window.
Full written account
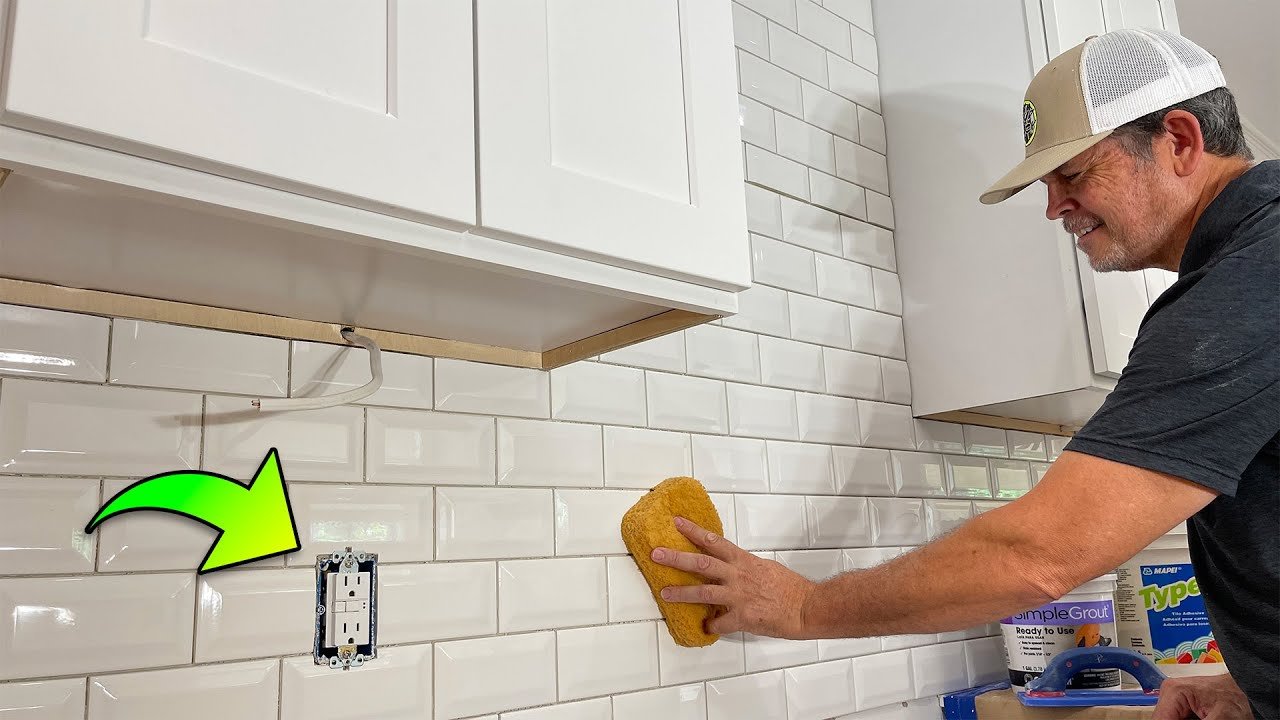
How do you install a ceramic subway tile backsplash so it looks professional, and what does it cost? Stud Pack's kitchen job used 3×6 beveled white ceramic tile on a 32-square-foot area, with every tool and price listed.
Materials and cost
The tile is a Daltile 3×6 beveled subway tile in bright white, 80 pieces to a box. Locally a box cost about $23, which they work out to about 29 cents a tile. They bought four boxes for about $100; each box covers 10 square feet.
The adhesive is Mapei Type 1 tile adhesive, a pre-mixed mastic they compare to liquid nails. They use it only for backsplashes, never on tile floors, tubs or showers, and it cannot go on glass or natural stone tile. A gallon, about $13, is enough for most smaller kitchens, and the bucket lists the coverage for each tile size. About 1,000 1/16 in. spacers cost about $13.
Tools
They use a notched trowel with the notch size matched to the tile, and rent a wet saw for about $30 a day. The pre-mixed grout cost $33. Its benefits are no mixing, and it can be covered and finished the next day. They use a standard grout float (about $15) because the silicone float dragged with more friction across the bevel.
Smaller extras include paper and tape to cover the counters, a diamond file (about $7) for micro chips from the wet saw, and Schluter Rondec metal trim, which comes in different heights. A self-leveling cross-line laser on a telescoping pole is described as a tool they wish they had bought years earlier.
Layout
The first commandment of tile setting is no slivers. They laid out tile on paper to see where the grout lines would fall. The pattern is a 50 percent offset. They tiled one wall first to learn how far five full tiles would run, then centered the pattern between two cabinets. Five full tiles measured about 30 and a half inches in a 30 3/4 in. opening, so they left an eighth-inch gap on each side.
The counter was a little lower on one side, so they shimmed that side with pennies and followed the laser, which left a slightly fatter grout line at the bottom. The second commandment is that there is always a compromise.
Setting and cutting
They tape the counter back from the wall by the thickness of the tile so the tape can be peeled. To keep mastic from squeezing out into the grout lines, they set the tile tight against its neighbors and then push it away. The first section went up in about 10 minutes. Adjustable depth boxes bring the electrical boxes flush with the tile face.
On the wet saw, tilting the tile up into the blade gives a square cut. Plunge cuts and tile nippers handle notches. To get a full tile at both the crown and the counter, the top area was tiled from the top down, with the cut tile hidden behind the hood.
Grouting
Before grouting, they cut away stray mastic with a utility knife, vacuumed and sponged the tile. The grout went on in about 10 minutes. They then stepped away to wallpaper, and the grout began setting hard. Their sequence: remove excess grout, shape the joints with a finger, popsicle stick or the butt end of a Sharpie, then wait for the golden window, when grout feels like compact wet sand. Their window has ranged from about five minutes to over two hours, so they recommend working in sections: top, bottom, then the sides.
Questions this video answers
How much tile was needed for the backsplash?
The kitchen measured 32 square feet. Each box covers 10 square feet, and they bought four boxes, about $100 total.
What adhesive do they use?
Mapei Type 1 pre-mixed tile adhesive, a mastic. A gallon, about $13, is enough for most smaller kitchens. It is only for backsplashes, not floors, tubs or showers, and not for glass or natural stone.
How much does a wet saw rental cost?
About $30 a day.
How long is the grout's golden window?
It varies. Their window has ranged from about five minutes after application to over two hours, so they say to watch the grout and test it with a fingernail or popsicle stick.
What is the first rule of layout?
No slivers. They laid tile out on paper first to see where the grout lines would fall.
Explore related projects
Connected by the topic: Tile