Replacing a Two-Way Light Switch: Safe Side Wiring Step by Step
The short version
A step-by-step guide to replacing a standard two-way light switch in a box that also holds a three-way switch. It covers shutting off power and testing with a non-contact voltage tester, scoring paint around the faceplate, comparing two-way and three-way wiring, choosing switch colors and grades, and side-wiring the new switch with J-hooks.
Full written account
Changing a light switch is, in the words of Everyday Home Repairs, the most approachable electrical project around a house. The example is an electrical box in Illinois holding a two-way switch and a three-way switch side by side, which shows two common scenarios at once. The aim is to assess the job, buy everything in one trip, and avoid second and third trips to the store.
Before touching the box
The host notes that in most jurisdictions homeowners may do their own electrical work, but suggests calling the local permitting office or electrical inspector to ask. In his area of Illinois it is allowed in your own house.
Power comes off at the fuse or circuit breaker. To confirm, he uses a non-contact voltage tester, an NCVT-3P, which has a built-in light useful where the switch area is dark. The tester is first checked on a known hot source so you know it works, then used at the switches, and again inside the box once the faceplate is off. He rechecks after moving the switches out.
To avoid damaging the wall, he scores the seam between faceplate and wall with a razor blade. That breaks the old paint bond so the drywall paper does not tear. The mounting screws can be removed with a flat head, though he prefers a number one Robertson or a Milwaukee combination bit.
Two-way versus three-way
A two-way switch is the only switch controlling the light. It has a hot line coming in and a load going out, while the light's neutral simply passes through a wire nut and has nothing to do with the switch. A three-way has the line coming in plus two travelers that run to the other switch on the circuit, so either switch can turn the light on or off. Travelers are usually black and red, but every install can differ. For a three-way, he says to mark the travelers against the hot line before disconnecting.
Speed wiring and what he fixes
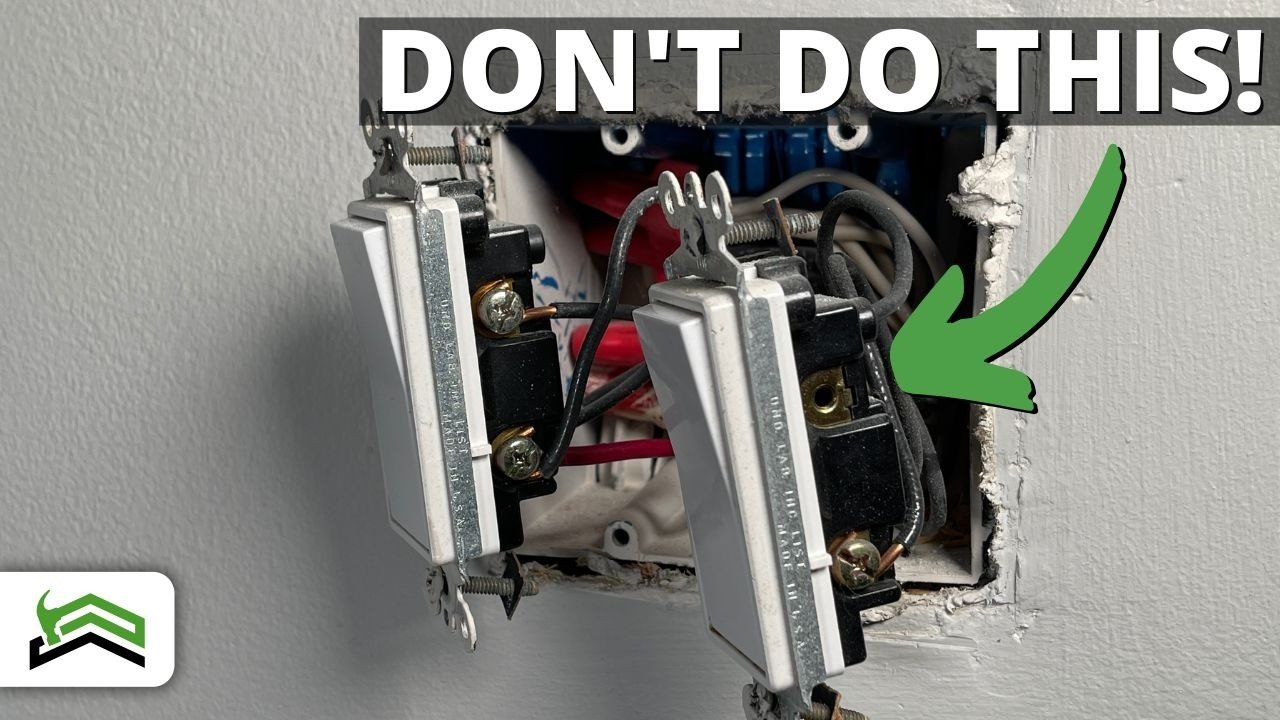
He does not recommend speed wiring, where stripped 14 gauge wire is pushed into the back and held by an internal tab. He also dislikes mixing it with side wiring. The old two-way was missing one screw, which shows that with speed wiring the screw plays no part in holding the wire. On the three-way, the red traveler used speed wiring; he suggests tightening that screw so nothing hangs out, since that could raise the chance of a short.
Buying the right parts
- Color: white, light almond and almond. Light almond can look white without comparison, so bring the old switch or faceplate.
- Type: two-way or three-way, and Decora rocker or standard toggle. Faceplates differ between the two styles.
- Grade: he uses a residential-grade Eaton switch at $1.88 at Lowe's. He names Leviton, Pass and Seymour, and Legrand as good brands, and sees little gain in commercial grade for switches.
Wiring the new two-way switch
The wire here is 12 gauge; a nickel's thickness is 12 gauge and a dime's is 14 gauge. He cuts the old ends back and strips about three-quarters of an inch for side wiring. Each wire becomes a J-hook, passed just through the small hole at the side and wrapped around. The hook goes clockwise around the screw so tightening pulls the wire in rather than pushing it out. A bare copper ground connects the same way, though a switch does not have to have one.
The switch is tucked into the box and kept flush with the wall, nudged left to right to center it. He leaves the screws slightly loose until the faceplate is lined up, then tightens them. Faceplate screws are aligned all vertical or all horizontal for a clean finish, and not overtightened, which can crack the plate. Then the breaker goes back on and he confirms the switch works.
Questions this video answers
How do you make sure the power is off before changing a light switch?
Turn off the circuit breaker or pull the fuse, then confirm with a non-contact voltage tester. Test the tester on a known hot source first, then check the switches and inside the box.
What is the difference between a two-way and a three-way switch?
A two-way switch (single-pole) is the only switch controlling the light and has a line (hot) in and a load out. A three-way switch has a line plus two traveler wires that run to the other switch on the circuit, so either switch can turn the light on or off.
Which wiring method does the video recommend?
Side wiring, using a J-hook on the terminal screw. Speed wiring relies on an internal tab, and he does not recommend it or mixing it with side wiring.
Which direction should the wire wrap around the terminal screw?
Wrap the J-hook clockwise around the screw so tightening pulls the wire in instead of pushing it out.
How can you tell 12 gauge wire from 14 gauge?
Compare it to a nickel and a dime: nickel thickness is 12 gauge, dime thickness is 14 gauge.
Can a homeowner do this work?
Not necessarily. He says to check with the local permitting office or electrical inspector (in his area of Illinois it is allowed in your own house), and to call a professional if you are not comfortable with electrical work.
Explore related projects
Connected by the topic: Electrical