Replacing a Single Handle Kitchen Faucet, From Old Lines to Leak Test
The short version
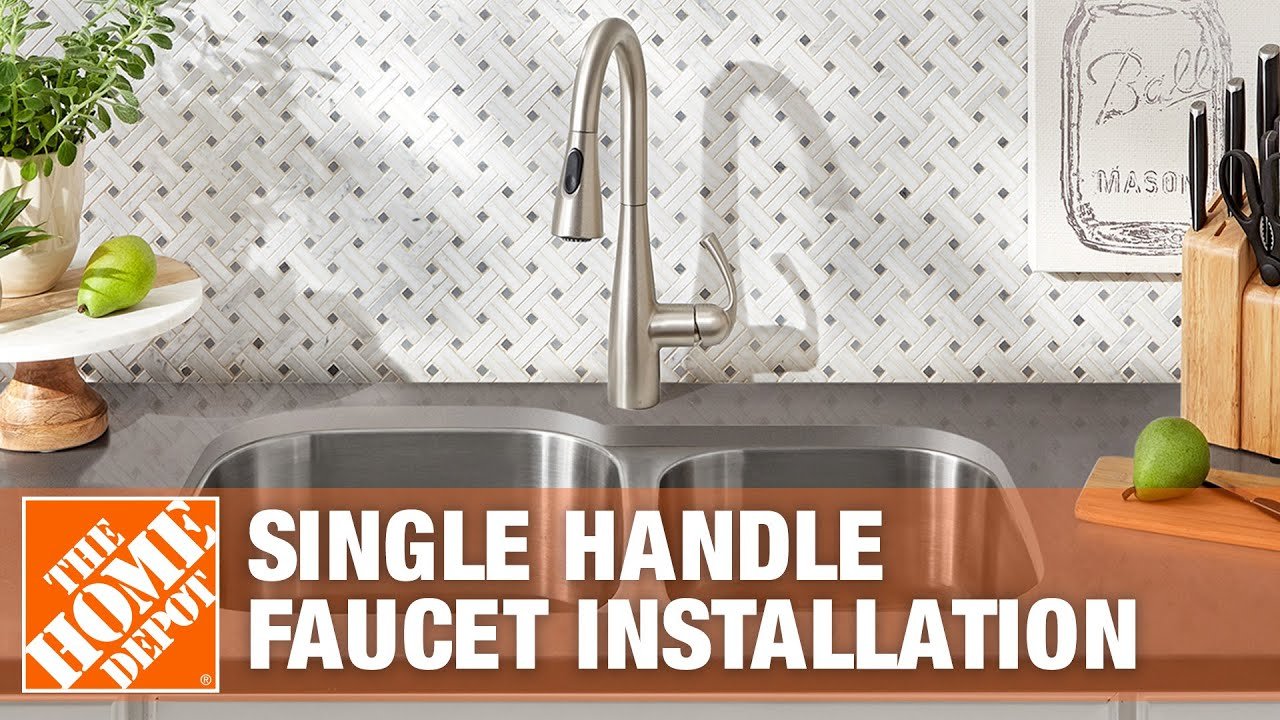
A step-by-step guide to replacing a single handle kitchen faucet. It covers shutting off the water, disconnecting supply lines, removing mounting hardware, installing the new faucet with an escutcheon plate and side sprayer, then leak-testing and flushing the aerator.
Full written account
Replacing a single handle kitchen faucet starts under the sink, where the work is done on your back and upside down. The Home Depot's guide begins with preparation: clear out the products and supplies, keep a shallow pan and a couple of old towels ready to catch water, and bring a pillow to make the work easier.
Safety and shutting off the water
If there is an electrical outlet beneath the sink, turn off power to it before removing the old faucet, and restore power only after the new faucet has been tested for leaks. Safety glasses protect against falling debris, and a flashlight helps in a deep cabinet.
The hot and cold supply valves are shut by turning them clockwise, anywhere from a quarter turn to several turns. Without stop valves, the water to the entire house must be turned off, and the guide suggests installing valves under the sink. Stiff valves may respond to a rag or pliers for grip. Then open the faucet handles to relieve pressure in the lines.
Removing the old faucet
Each supply line is connected to its valve by a threaded nut. Remove each with an adjustable wrench, turning counterclockwise, while stabilizing the water pipe so connections behind the cabinet are not compromised. If a valve drips with the handle fully off, it is faulty and the whole-house water must be shut off to replace it.
On a single handle faucet, the water connections are part of the spout assembly, and the mounting hardware slides over the lines. A faucet with a diverter has a separate line to a side sprayer that must be disconnected. A basin wrench, with a ratcheting head and a handle that pivots 90 degrees, reaches the nuts behind the sink; a faucet and sink installer is a multi-purpose alternative. A line can be cut with a pipe or tubing cutter only if the old faucet won't be reused.
Mounting hardware on a single handle faucet is usually on a single shank. Rusted nuts can be treated with penetrating oil such as PB Blaster, possibly more than once. The faucet may need pressure to break its seal. Clean the area before installing the new one.
Matching the faucet to the holes
A countertop or drop-in sink may have one to four holes, the fourth typically for a sprayer or soap dispenser. The spread is measured between the centers of the three main holes; eight inches is the most common and fits most center set faucets. A single handle center set can be mounted in one hole or use an escutcheon plate to cover the two outside holes. Widespread faucets have separate units and fit any spread, and a pull-out sprayer suits a countertop without enough holes.
Installing the new faucet
The demonstrated unit has a gasket on the spout base, which slides over the supply lines. For three holes, a gasket goes under the escutcheon plate, which covers the first and third holes. Below the deck, a washer sits against the countertop and a mounting nut is screwed up until it is a half inch below the surface; three mounting screws are then tightened evenly. Have someone confirm alignment before final tightening.
Some faucets have built-in flexible lines, some with PEX tubing; others have a half-inch male connection needing your own lines, with Teflon tape on the threads. The wall valve fitting is typically 3/8 inch, also taped. The cold line goes to the cold valve, typically on the right. Hand-tighten the nuts, then use an adjustable wrench while securing the pipe running into the wall.
A side sprayer needs a faucet sold with that option. Its hose guide goes into the fourth hole with a rubber gasket, is secured with a connecting nut, and the hose is fed through and connected to the diverter, here with a quick connect.
Testing and flushing
Turn the water on, test the faucet and sprayer, and check for leaks. A slight drip calls for tightening without over-tightening; if it continues, turn off the water, add another layer of Teflon tape and reconnect. Finally, unscrew the aerator, run the water on full for about a minute to clear debris, shut it off and replace the aerator.
Questions this video answers
What do I do before removing the old faucet?
Clear the cabinet, have a shallow pan and old towels ready, shut off the hot and cold supply valves by turning them clockwise, then open the faucet handles to relieve pressure.
What if I have no shut-off valves under the sink?
If there are no stop valves, you need to turn off the water to the entire house.
Which tools help reach nuts behind the sink?
A basin wrench, which has a ratcheting head and a handle that pivots 90 degrees, or a faucet and sink installer. An adjustable wrench is used on the supply line nuts.
How do I stop leaks at the connections?
Wrap Teflon tape on the threads of the connections. If a slight drip appears, tighten with a wrench without over-tightening; if it persists, turn off the water, add another layer of tape and reconnect.
How do I flush the new faucet?
Unscrew the aerator, run the water on full for about a minute, shut it off and replace the aerator.
Explore related projects
Connected by the topic: Plumbing