Tiling Shower Walls: Staggered 24 in. Porcelain, Shelf and Accent
The short version
Shows how to tile the walls of a shower from start to finish: laying out a staggered pattern with 24 in. porcelain tiles, mixing thinset to a peanut-butter consistency, setting tile with a leveling system, and cutting with a wet saw. It also covers building a tile shelf, cutting for the shower valve, installing an accent strip and bullnose trim, and cutting a shower head hole with a diamond hole saw.
Full written account
Tiling a shower wall comes down to a handful of decisions made before the first tile goes up. In this walkthrough from The Excellent Laborer, the layout is 24 inch porcelain tiles run horizontally in a staggered pattern, with a decorative strip about six feet high.
Planning and the first row
The tile type (porcelain, ceramic, travertine), the design, any shelving or built-in niche, and the layout all get decided first. The tile measures 11 1/4 inches wide, and the plan calls for at least an eighth inch gap above the shower pan and an eighth inch between tiles, so a line is marked 12 inches up the wall and leveled across.
A straight board is screwed flush to that line. The reason is that not every shower pan is level. The board gets one screw at each end, plus one in the middle on the five foot wall. Tiling starts on the back wall so no grout joint shows in each corner on entering the shower.
Staggered layout
The back wall is about 59 inches long, so center is marked at 29 1/2 inches. A line is offset about a sixteenth of an inch, half the eighth inch grout joint, to mark the tile edge. A 23 3/4 inch tile has its center at 11 7/8 inches, and that mark is plumbed up the wall. One line serves one row and the next line serves the alternate row, giving a staggered look.
Thinset and setting tile
Thinset must match the tile, porcelain or ceramic. It is mixed with a half inch drill and mixing blade, to a peanut-butter consistency, left five minutes and remixed. Quarter inch notches are combed in one direction on the wall, and the tile is back buttered for complete coverage. A leveling system with spacers and wedges is used, and the wedges can be knocked off with a rubber mallet, leaving the spacer behind to be grouted over. A pencil cleans thinset from the joints, and excess thinset is scraped off the wall before it hardens overnight.
Cuts and the shelf
A wet saw handles the cuts, with safety glasses and ear protection, cutting slowly. A diamond sponge smooths exposed edges. For the shower valve, the saw head is loosened and raised for a plunge cut, scoring the line first, then the tile is dry fit.
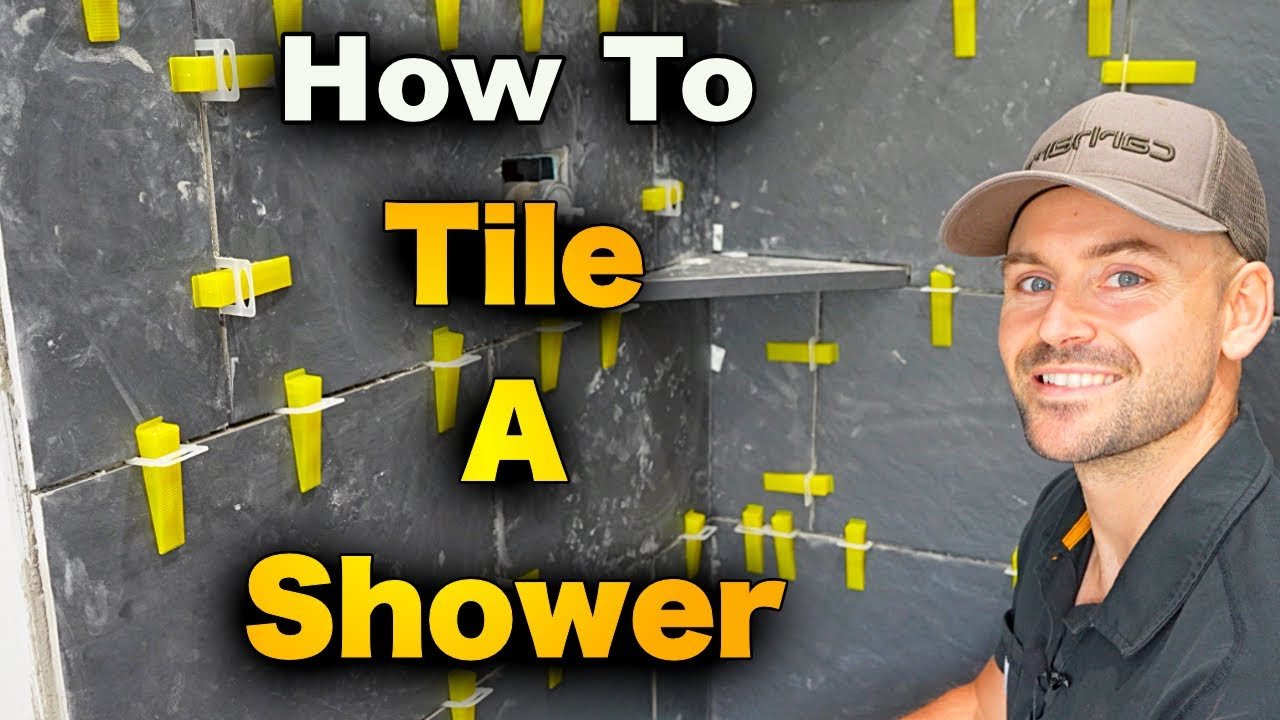
The shelf is made from a 24 inch tile cut into two 9 1/8 inch squares, back buttered and sandwiched, then left 24 hours. A front face about 3/4 inch wide is attached with tub and tile silicone, set slightly low so water rolls off. The shelf is shimmed level end to end with a slight slope away from the back corner.
Accent strip and bullnose
Boards are moved up for the accent strip, once the first row has dried at least 24 hours. Screw holes are patched with thinset and covered with waterproofing. The mosaic strip gets thinset only on the wall. Bullnose on the drywall edge is held with spacers and blue painters tape. A 1 3/8 inch diamond hole saw cuts the shower head opening.
Questions this video answers
What consistency should thinset have?
Peanut butter-like. It is mixed with a drill and mixing blade, left to sit for five minutes, then remixed for a few minutes.
Why screw a board to the wall for the first row?
It gives a perfectly level first row, because not every shower pan is level. The first row starts 12 in. up on the wall.
Where should tiling start?
On the back wall, so you don't see a grout joint in each corner when you step in. The sides are then done along with the back wall.
What is back buttering?
Spreading a full layer of thinset on the back of the tile so every square millimeter is covered, in addition to the thinset combed onto the wall.
Which saw is used and what protection is needed?
A Ridgid wet saw. Safety glasses and ear protection are worn, and the video says to cut slowly.
How is the tile shelf made?
A 24 in. tile is cut into two 9 1/8 in. squares, back buttered and sandwiched together, then faced with a tile front attached with tub and tile silicone and shimmed to slope slightly.
Explore related projects
Connected by the topic: Tile a shower