Replacing a Garage Door Opener With a Belt-Drive Model
The short version
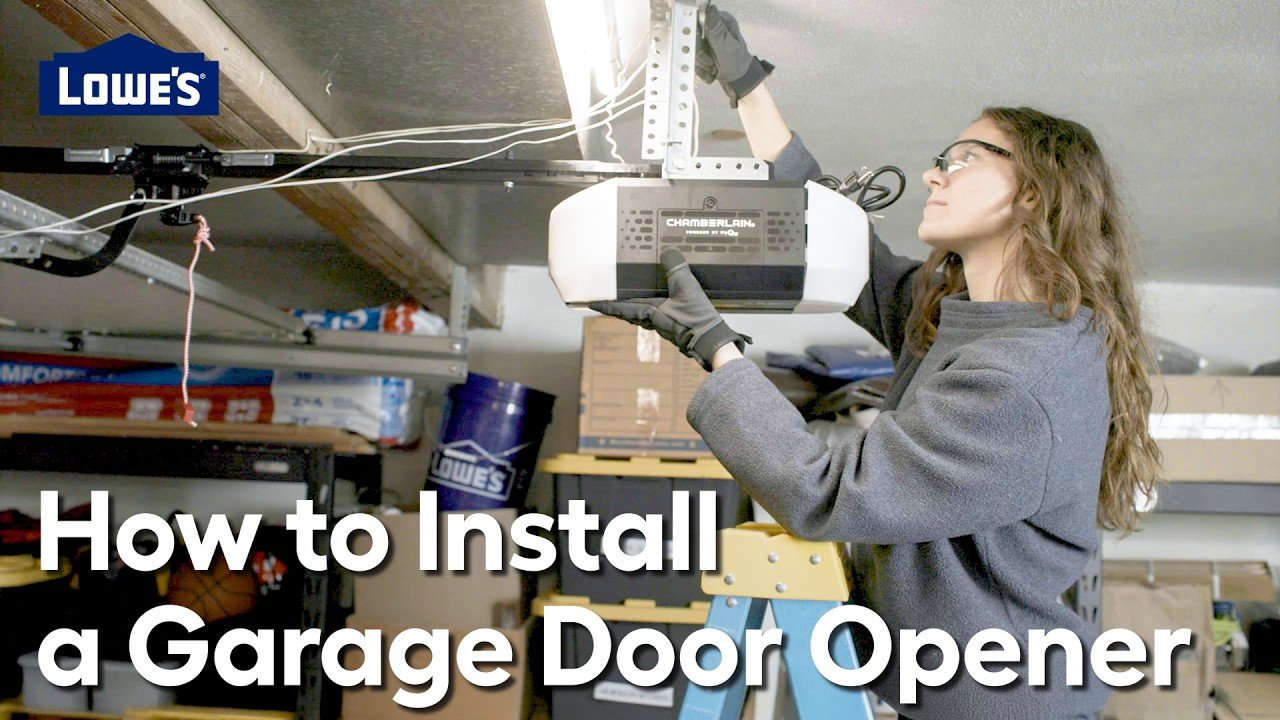
A Lowe's associate guides two first-time DIYers through replacing a noisy garage door opener with a belt-drive model. The video covers checking door balance, assembling the rail and belt, mounting the motor, reusing the existing wiring for the control panel and safety sensors, adding the backup battery, and testing the safety reversal with a piece of wood and a ball.
Full written account
A garage door that sags or sticks is a reason to stop before any opener work begins: a Lowe's associate guiding a mother and daughter through a belt-drive opener replacement says that if the door sticks or is unbalanced, a professional must be contacted before proceeding. The door is checked first by lifting it about 3 to 4 ft; if the springs support it, it stays in place.
Before the install
The old opener comes down by unplugging it, disconnecting the wires to the wall control and removing a few mounting bolts. The bottom seal is checked next, because gaps of more than a quarter inch may affect the safety reversal mechanism later. Garage door elements are under extreme tension, and the video says not to adjust springs, cables or brackets. The door material should also have any required reinforcement already in place.
Assembling the rail and belt
The rail pieces are laid in a straight line from the center of the door, with the first piece's yellow sticker facing up. The tapered ends slide into the larger ends. A screwdriver in the second-to-last rail piece acts as a temporary stop while the trolley is slid on, with the release handle pointing toward the motor unit. The U-bracket end piece attaches with a quarter-20 by 1 3/4 inch bolt, and the nuts on top of the unit are hand-tightened and finished with a socket wrench.
The belt is fed through the rectangular window next to the yellow sticker, and the idler pulley is secured with a bolt and washer. The belt wraps around the sprocket with the rib side facing in. A master link connects the shaft to the other end of the belt.
The spring trolley nut step is described as tricky, and safety glasses are called for. The nut is finger-tightened only; a flathead screwdriver held in the nut ring slot while the nut on the other end is turned with a wrench makes the spring jump into place against the trolley. The tab near the yellow sticker is bent to 90° to lock the rail sections, and the top bolts secure the belt cap retainer over the sprocket.
Mounting and wiring
Because this is a replacement, the header and support brackets are already in place and are reused. With a ladder supporting the motor, the rail is set near the header bracket and pinned with the ring. The door needs at least half an inch of clearance from the rail. The emergency release handle should hang at least 6 ft above the ground.
The existing wiring is reused: the white wire to the white circuit and the red wire to the red circuit. The control panel must be within sight of the door and at least 5 ft above the floor, and warning labels go near the panel and on the inside of the door.
Battery and sensors
With the motor unplugged, the side panel comes off, the battery wires are connected and the panel is replaced. The remote can test the battery; slow movement may just mean it isn't fully charged.
Two sensors sit low on each side of the door and stop it from closing on pets or objects. Wires match red to red and white to white, with the sensor wire in the gray terminal. One sensor should show solid amber and the other solid green; a blinking green light means loosening the wing nut and adjusting.
Testing
Travel limits vary by model, so the owner's manual governs. For the safety reversal test, a spare piece of wood goes under the closing door, which should stop and reopen on contact. The test is repeated with a moving object such as a ball. If either fails, the open and close settings are reset and the door confirmed fully closed when setting the down position.
Questions this video answers
How do I check that my garage door is balanced before installing an opener?
Lift the door about 3 to 4 ft. If the springs support it, it stays in place. If it sticks or is unbalanced, contact a professional first.
How much clearance is needed between the door and the rail?
At least half an inch.
How high should the emergency release handle be?
At least 6 ft above the ground, to avoid contact with vehicles.
Where should the wall control panel go?
Within sight of the garage door and at least 5 ft above the floor, out of reach of kids and pets.
How do I test the safety reversal?
Place a piece of wood under where the door will close; it should stop and reopen on contact. Then try something that moves, like a ball. If either test fails, reset the open and close settings.
What do the safety sensor lights show?
One should show a solid amber light and the other solid green. If the green light blinks, loosen the wing nut and adjust until it is solid.
Explore related projects
Connected by the topic: Doors and windows
