Installing a FlexStone Tub Surround Instead of Tile in a Remodel
The short version
A builder installs a FlexStone tub and shower surround over green board drywall in a mid-range bathroom remodel instead of tiling. He shows the waterproof corners, panel scribing and cutting, adhesive and silicone application, trim, tub spout and shower valve trim installation, and seam sealing. He calls it a one-day install, says it was more enjoyable than tile, and notes that difficulty depends on how straight and plumb the walls are.
Full written account
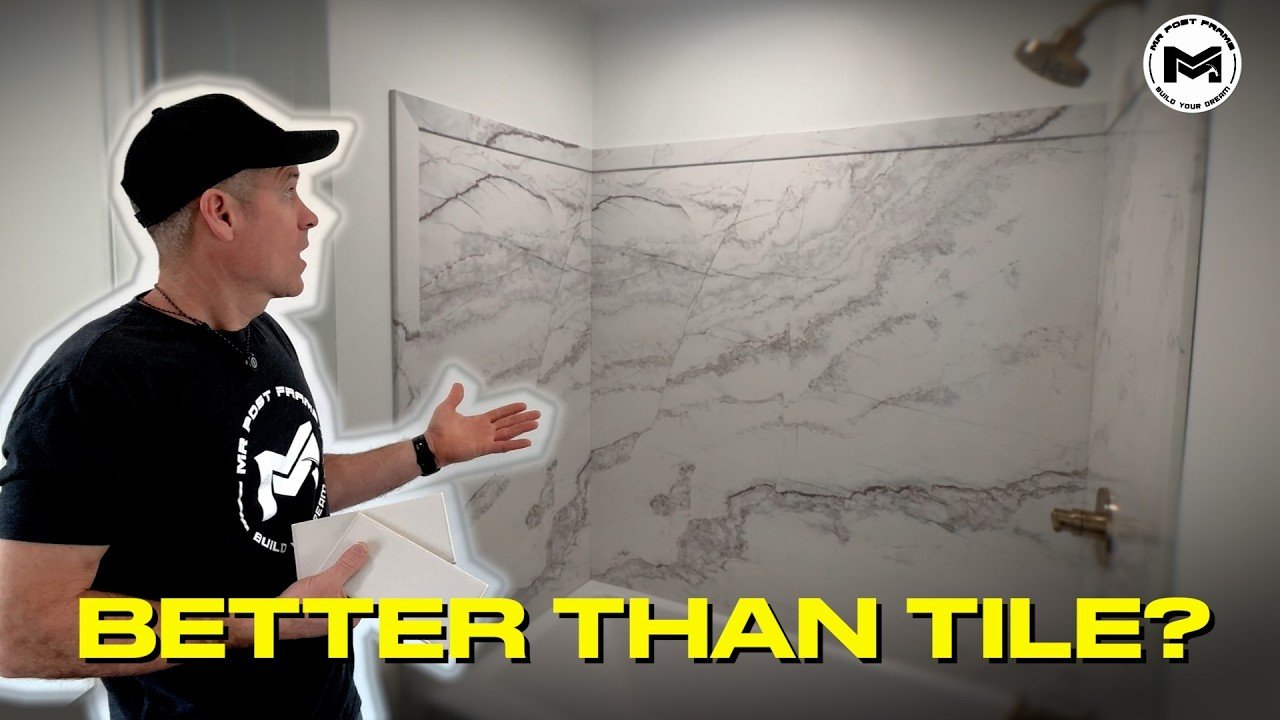
A FlexStone surround went into a mid-range bathroom remodel in place of a tile shower, and the builder behind the install calls it a one-day job. He had two showers to do, a white one in the upstairs bathroom and a blue one in the master bathroom, and says he didn't want the work to take days.
Prep and corners
FlexStone is designed to go over green board drywall, which is what he had. It can also go over existing tile or cement board. In the corners, the system calls for waterproof corner pieces as added protection against leaks. He cut them to length, with the panel coming up 60 in. from the top of the tub, creased them down the middle along the marked line, and bedded them in a bead of either silicone or adhesive. He marked the bead line 3/4 in. out. The instructions only say "a bead", so his first bead was too small. He added more silicone, which filled the holes better.
Fitting the panels
Because the walls were not the same dimension all the way across, he found the middle of the wall, marked a plumb line, and measured to each side from it. He transferred those numbers to the panel and scribed it. Measurements along the bottom ran from 4 5/8 down to 4 3/8 in., a gradual change of about a sixteenth of an inch every 15 in. He peeled a protective coating from the panel, and on the test fit one side was tight. He took an eighth inch off with a circular saw, with a 2×4 under the edge, and lightly sanded the edges to remove burrs.
The instructions say to put adhesive on the panel. He put it on the wall instead, in 4 to 6 in. lines or dots, and advises cutting the tube nozzle bigger because his first tube came out too thin. After he pressed the panel on, he left it for about 30 minutes while working on the other side. For the trim, he ran it out along the tub, set small uprights on each side, and held it with a cut 2×4 and shims so the glue would stay attached to the trim and the wall until it dried. The instructions call for three tubes on the back panel.
Spout, valve and shower head
For the tub spout, he cut the 1/2 in. copper pipe back, less than 3 1/2 in. by his recollection, and slid on a slip fitting with O-rings. The O-rings seal against the copper inside and the spout outside, and the spout screws on until it is tight to the wall. The fitting needs to be snug, not very tight. He set the valve to its hottest position before installing the cover. The seal on one cover was down where it should have been up, so he used M Seal to make a new one.
On the shower arm he used a little Teflon tape and tightened by hand. He also removed the filter from the shower head, and the rubber O-ring that acts as a flow restrictor, cutting it out so there is no restriction. He acknowledges some viewers will object.
Sealing and verdict
After cleaning and drying, he ran clear silicone along the seams and smoothed it with a wet finger, so it blends in with what is behind it. He says it was more enjoyable than tiling, and the panel is solid against the wall with nothing hollow behind it. He did not like the blue color on first opening the box. He says the difficulty depends on how straight and plumb the walls are, but it is still much quicker than installing tile.
Questions this video answers
What wall surface does FlexStone go over?
The video says it is designed to go over green board drywall, which is what he used. It can also go over existing tile or cement board.
How long did the install take?
He calls it a one-day install, with quick prep and quick panel installation.
How do you cut the panel?
He found the center of the wall, marked a plumb line, measured to each side, transferred the measurements to the panel and scribed it. He trimmed an eighth inch off one side with a circular saw.
Where does he put the adhesive?
The instructions say to put it on the panel, but he applied it to the wall because he felt he could do a cleaner job.
What did he dislike?
He did not like the color of the blue panel when he first opened the box, but was amazed once it was up. He says install difficulty depends on how straight and plumb the walls are.
Explore related projects
Connected by the topic: Plumbing