Bathroom Renovation Order: Plumbing, Schluter Waterproofing, Tile
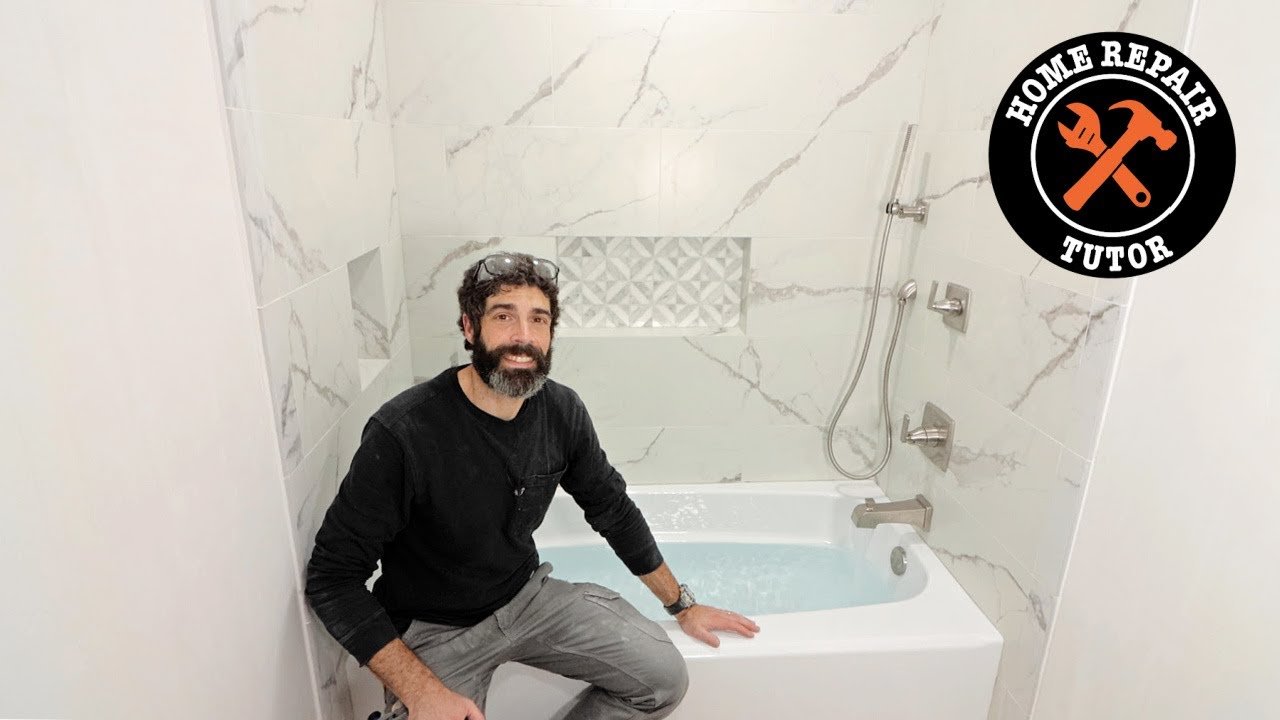
The short version
An overview of a full bathroom renovation in the order the presenter works: planning around mechanicals, budgeting, demolition, framing, plumbing and electrical rough-in, Schluter shower waterproofing, DITRA, tile sequence and final fixtures. It gives budget ranges for four quality categories and tips such as choosing the drain, valve and vanity before hiring a plumber and flood testing the shower for 24 hours.
Full written account
A full bathroom renovation, as laid out by the Home Repair Tutor channel, starts with decisions made before any demolition: keeping the shower, toilet and vanity in their current locations saves a lot of money, while moving them adds expense. The presenter's advice is to choose the shower drain, shower valve and vanity cabinet before hiring a plumber or starting work.
Planning around the mechanicals
Most shower drains are 2 inches in diameter, which may require changing tub plumbing that is normally 1 1/2 to 2 inches. Shower valves must be installed to the correct depth, so the backer board and tile should be on hand at that point. Vanity cabinets often require the P-trap and water supply lines to be rerouted around drawers, which is why having the cabinet on site helps.
On the electrical side, heated tile floors and some heated bathroom exhaust fans require 20 amp service, so the video recommends consulting an electrician before choosing either. For lighting, the presenter likes Halo wet-rated recessed lights: 6-inch for large showers and sometimes 4-inch for small showers or bathtubs.
Where the budget goes
Four categories get the quality spending: shower waterproofing materials, the shower valve and trim, tile, and vanity cabinets. The reasoning is that a leak or a failed knockoff valve costs more to fix than the valve cost to install.
- Shower waterproofing: $800 to $1,500, depending on shower size
- Shower valve and trim: $500 to $1,000, possibly more with finishes
- Shower and floor tile: $500 to a few thousand dollars
- Vanity cabinet: $500 to a few thousand, plywood rather than particle board, with dovetail joints on the drawer sides; a locally cut top adds $400 to $800
Together the video puts the total at $2,000 up to $7,000-$8,000.
Demolition and framing
Water to the house is turned off and the system drained first. The presenter removes the toilet and vanity, then the shower walls and shower floor or tub, then the bathroom floor tile, and inspects the substrate. If the plywood looks bad or the floor is unlevel, the plywood comes out so the joists can be inspected.
Floor framing depends on the tile. The presenter points to the Schluter DITRA Handbook and prefers 3/4 inch tongue and groove plywood over joists at 16 inches on center for ceramic or porcelain tile. Half-inch backer boards need studs no wider than 16 inches on center, and studs should be even and square because their imperfections carry through to the backer board and tile.
For drains, never step down from a larger pipe to a smaller one, so a 2-inch shower drain should not reduce to 1 1/2 inch. The exception is the closet bend, where a 4×3 reduction is fine, as is a 3×3. Water supply lines go in once the drains are in, and electrical devices such as recessed lights, the exhaust fan, vanity lights, GFCI outlets and a possible extra circuit for heated floors are planned before the plywood goes down and the walls close.
Schluter shower waterproofing
The presenter uses Schluter exclusively. Thin-set mortar, mixed to a membrane consistency (Schluter ALL-SET), is troweled onto the fleece of KERDI-BOARD or a KERDI tray with a KERDI trowel. A second layer of fleece, normally KERDI-BAND, goes over the mortar. As the mortar cures, crystals grow into both fleece layers, forming a matrix the presenter says is too tight for water molecules to pass.
The shower valve, Delta or Hansgrohe, is set at the right height and depth and anchored before waterproofing, so the trim sits flush against the tile. The sequence is backer board, wall waterproofing, KERDI-DRAIN (which must be level), then, without access from below, the pan, the curb and the waterproofed connections.
Floor, flood test and tile
DITRA Peel and Stick goes down over plywood or concrete without thin-set, ideally on a primed floor. After the shower has sat 24 to 48 hours, a plug such as an Oatey Gripper plug seals the drain and the pan is filled, ideally above the banding, for 24 hours. If the water level has not dropped, it passes.
Tiling runs floor first, with a 1/8 inch expansion joint at the wall, then the main wall, side walls, curb and curb top or bench top. After 24 hours of curing, the floor and then walls are grouted, and changes of plane are sealed with 100% silicone. The main bathroom floor can be tiled before or after the shower.
Finishing
The vanity, toilet and electrical devices come last. The toilet closet flange should sit at least even with the finished floor, or a little higher, to avoid a leak and make a good seal with the wax ring.
Questions this video answers
What is the first step in a bathroom demo?
Turn the water off to the house and drain the system before demo work, so hitting a water line does not cause a catastrophe.
How much should I budget for the key categories?
The video suggests $800-$1,500 for shower waterproofing, $500-$1,000 for the shower valve and trim, $500 to a few thousand for tile, and $500 to a few thousand for a vanity cabinet, plus $400-$800 for a top. The total ranges from $2,000 up to $7,000-$8,000.
How long should the shower be flood tested?
After the waterproofing has sat 24 to 48 hours, plug the drain, fill the pan with water and leave it for 24 hours. If the level has not dropped, it passes.
What is the tile order in the shower?
Shower floor first, with a 1/8 in. expansion joint at the wall, then the main wall, the side walls, the curb and the curb top or bench top. Grout after 24 hours of curing.
How high should the toilet flange be?
At least even with the finished floor, or a little higher, to avoid a leak and give a good seal against the wax ring.
Explore related projects
Connected by the topic: Electrical