Setting Shower Floor Mosaic and the First Row of Subway Tile
The short version
Part 3 of a four-part walk-in shower tiling series covers setting a marble mosaic floor around a centered drain with Schluter All-Set, then laying out and setting the first course of subway tile on the walls. The first row is dry fitted, cut to a laser line and shimmed with an eighth-inch gap above the pan.
Full written account
The mosaic shower floor had to set overnight so the Schluter All-Set could cure enough to support a person's weight, which means wall tiling cannot start right after the floor goes in. That pause sits between the two halves of this stage of a walk-in shower build: the marble mosaic floor, then the first row of subway tile on the walls.
Laying out the floor
The drain is centered in the space, and the Schluter system left some room to adjust before the drain and thinset were set. The mosaic has square edges, so the layout was shifted to get solid tiles rather than slivers. The plan starts with the center tile, centers the drain in it and works left and right. Grout lines should run parallel to the walls. The installer dry sets the layout first.
The edges were trimmed on a wet saw, which traps airborne particulate in water. Water can weaken the glue holding the mosaic sheet, so a tile may come loose and need to be picked up later. Ear protection and safety glasses are advised.
Setting the drain and floor tile
The drain flange went into a bed of All-Set, with the dimension confirmed at 14 3/8 and the drain squared to the wall. Thinset was packed under the corners for support. The drain sits high at first, on purpose, and is pressed down to its final position once the tile is placed.
Because the tile is marble, a natural stone, the thinset is combed and then knocked down to avoid air pockets under the stone. The tiles were placed by hand, and the slope into the drain can be felt.
Planning the wall tile
Waterproofing, patching and Kerdi-Band corners were complete. The full height was about 85 1/2 in. The goal was a roughly 2 in. tile at the top and 2 3/4 in. at the bottom. Subway tile has a built-in lug, so no spacers are needed.
A Bosch laser level showed the corner was slightly raised from the Kerdi-Band, so the bottom cut is 2 1/2 in. on the right and 2 3/4 in. on the left. An eighth of an inch is left between the pan tile and the wall tile for siliconized caulk matched to the grout color, in the inside corners at the wall and at the floor. The caulk and grout do not keep water out; the waterproofing layer behind does.
Cutting and setting the first course
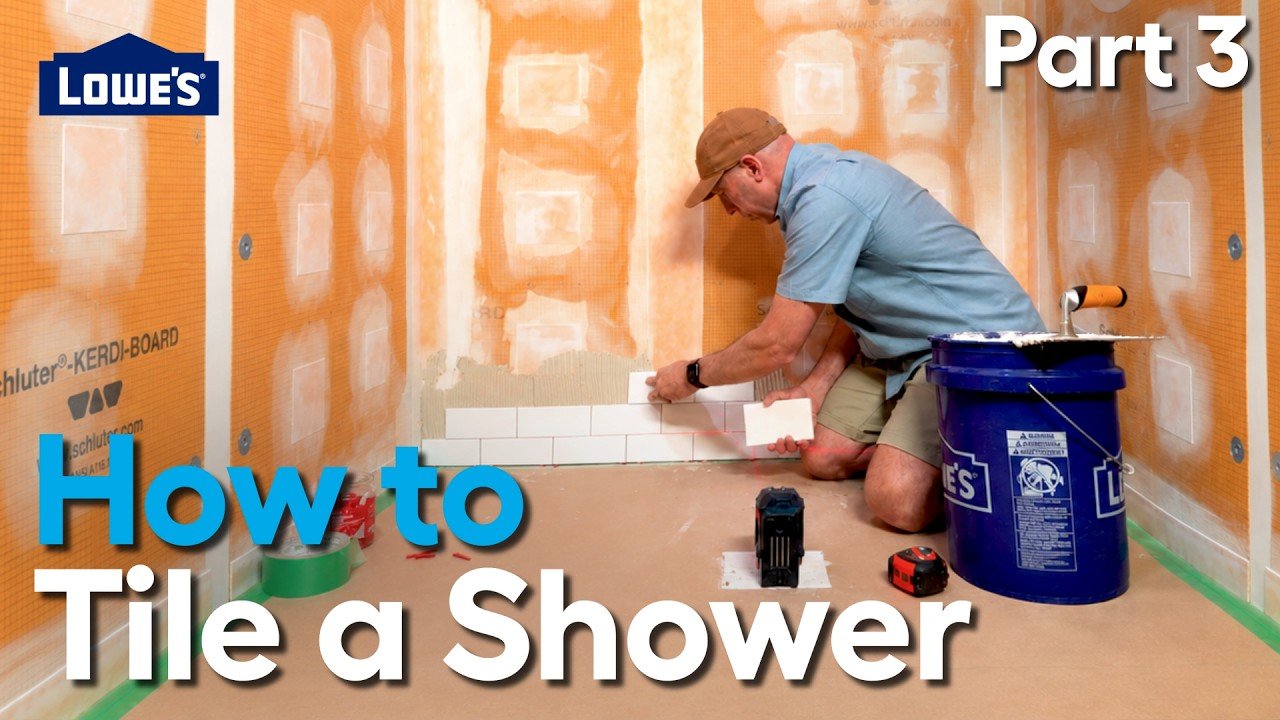
The back wall center was marked at 29 1/2. Tiles were marked, numbered on the back and cut on the wet saw by taking the line. Pencil is used rather than grease pencil, and the cut is lined up by sighting down the blade. Blade deflection left tile one slightly taller than its neighbor, so small shims bring each tile to the laser line.
The floor was covered with paper and tape. Thinset was combed with a 1/4 by 1/4 trowel, and tiles were set from the center line, then shimmed to the laser line with consistent joints.
Questions this video answers
How long should the shower floor cure before tiling the walls?
The mosaic floor tile set overnight so the Schluter All-Set could cure enough to support weight before wall work began.
What gap is left between the pan tile and the wall tile?
An eighth of an inch, so siliconized caulk matched to the grout color can go in the inside corners at the wall and at the floor and allow for movement and expansion.
What trowel size is used for the subway wall tile?
A 1/4 by 1/4 trowel is used to comb the thinset for the subway tile.
Why is thinset knocked down on the marble mosaic floor?
Marble is natural stone, so the thinset is combed and then knocked down to avoid air pockets under the stone.
Why are the bottom wall tiles cut at different heights?
The corner was built up with Kerdi-Band, so the laser line showed the wall slightly higher on one side; the bottom cut was 2 1/2 in. on the right and 2 3/4 in. on the left.
Explore related projects
Connected by the topic: Tile a shower