Garden Drip Irrigation: Timer, Tubing, Feeder Lines and Emitters
The short version
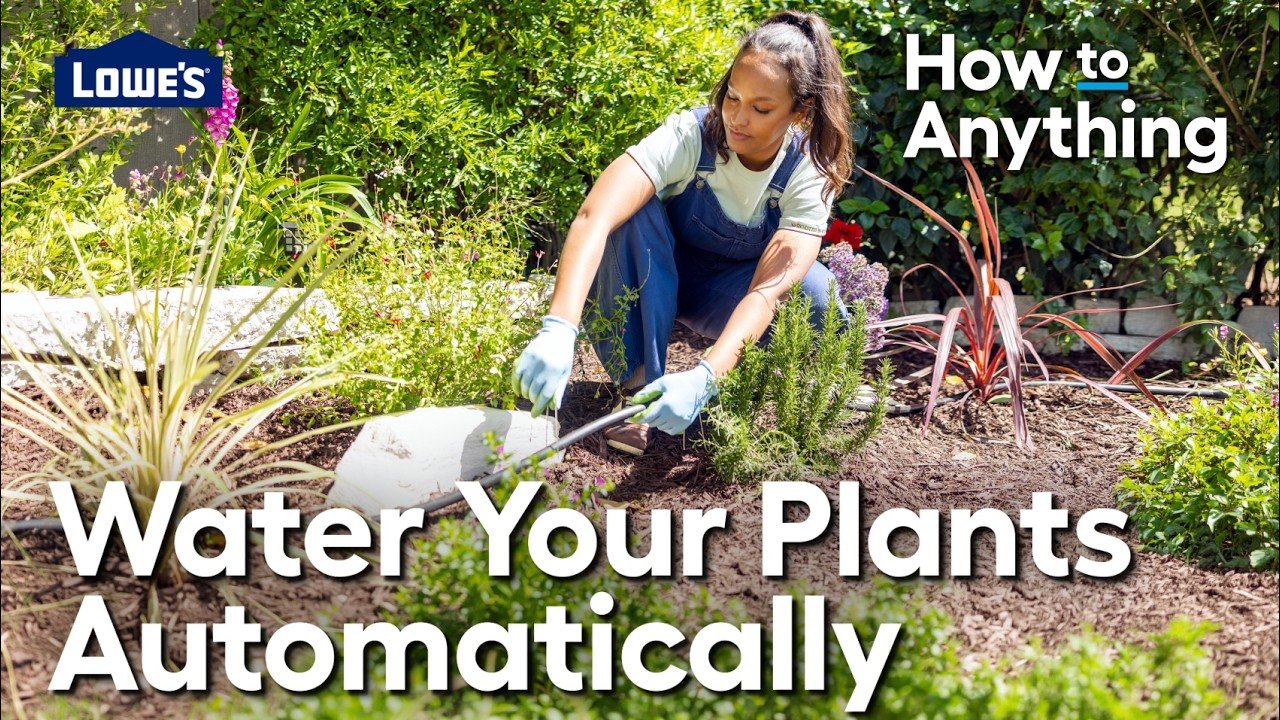
Jackie shows how to install an automated drip irrigation system in a garden bed. She plans the layout, attaches a backflow preventer, optional hose splitter, smart timer and pressure regulator to the water source, runs tubing pinned every 3 to 4 feet, adds an end cap, punches in couplings with feeder lines and 1 gallon per hour emitters, then tests the system from a phone app.
Full written account
Each emitter in this garden drip system releases just 1 gallon per hour, and Jackie of Lowe's Home Improvement stresses that this final piece at the end of each feeder line should not be skipped: it helps with the pressure of the water and sends it to the exact location of the plant instead of letting it go everywhere.
Planning the layout
The drip line goes straight down the middle of the garden bed. Before installing anything, she plans the layout so every plant gets the water it needs, and recommends grouping plants with the same watering needs so watering is more efficient.
Parts at the water source
The system starts at a water source with a stack of threaded parts. The backflow preventer goes on first, to help keep garden water from coming back into the home. A hose splitter is optional and lets the timer and an additional hose share the connection. Next comes the timer: she uses a smart timer that connects to a phone app. A pressure regulator follows; this timer already has one built in, but a separate one is needed if yours does not. Because all the pieces are threaded, she wraps Teflon tape around them a couple of times to prevent leaks.
Running the tubing
Blank tubing attaches to the timer with an adapter and carries water out to the plants. She measured from the timer to where the plants end to know how much tubing to buy. The tubing can be cut or teed off to water other areas. She weaves it between plants and rocks and secures it with landscaping pins every 3 to 4 feet. Mulch can cover the line if the look bothers you.
At the far end she cuts off extra tubing with cutters, leaving a little space, and fits an end cap. The end stays accessible so the system can be flushed and later extended to other parts of the garden.
Feeder lines and emitters
Feeder lines bring water from the drip line to a specific plant. A cut/punch tool first punches a hole in the drip line with pressure and a wiggle. A coupling is loaded in the tool, clicked, pushed into the hole, and clicks again when seated. The feeder line then wiggles into the coupling, and an emitter squeezes onto its end. The line is placed at the root of the plant and pinned flat with landscaping pins.
Testing
The last step is a test. With the smart timer, she opens the app on her phone and turns the system on. The same app sets how much water the plants get and how often.
Questions this video answers
What order do the parts at the water source go on?
Backflow preventer first, then the optional hose splitter, then the timer, followed by a pressure regulator if the timer doesn't have one built in.
How far apart should landscaping pins be?
Every 3 to 4 feet to keep the tubing secure.
Why keep the end of the drip line accessible?
So the system can be flushed out and the line extended to other parts of the garden later.
How much water does the emitter release?
The emitter used releases 1 gallon per hour.
Explore related projects
Connected by the topic: Plumbing