Vertical Shop Vac Cart with Dust Deputy Cyclone, Built from Plywood

The short version
A woodworker builds a vertical dust collection cart from 3/4 in. Baltic birch plywood to hold a shop vac with an Oneida Dust Deputy cyclone and bucket on top. The cart has angled side panels, notched stretchers, four 3 in. casters, dividers with bungee cords to hold the cyclone, and PVC pipe connecting the cyclone to the vacuum. The finished footprint, including the PVC, is stated as less than two square feet.
Full written account
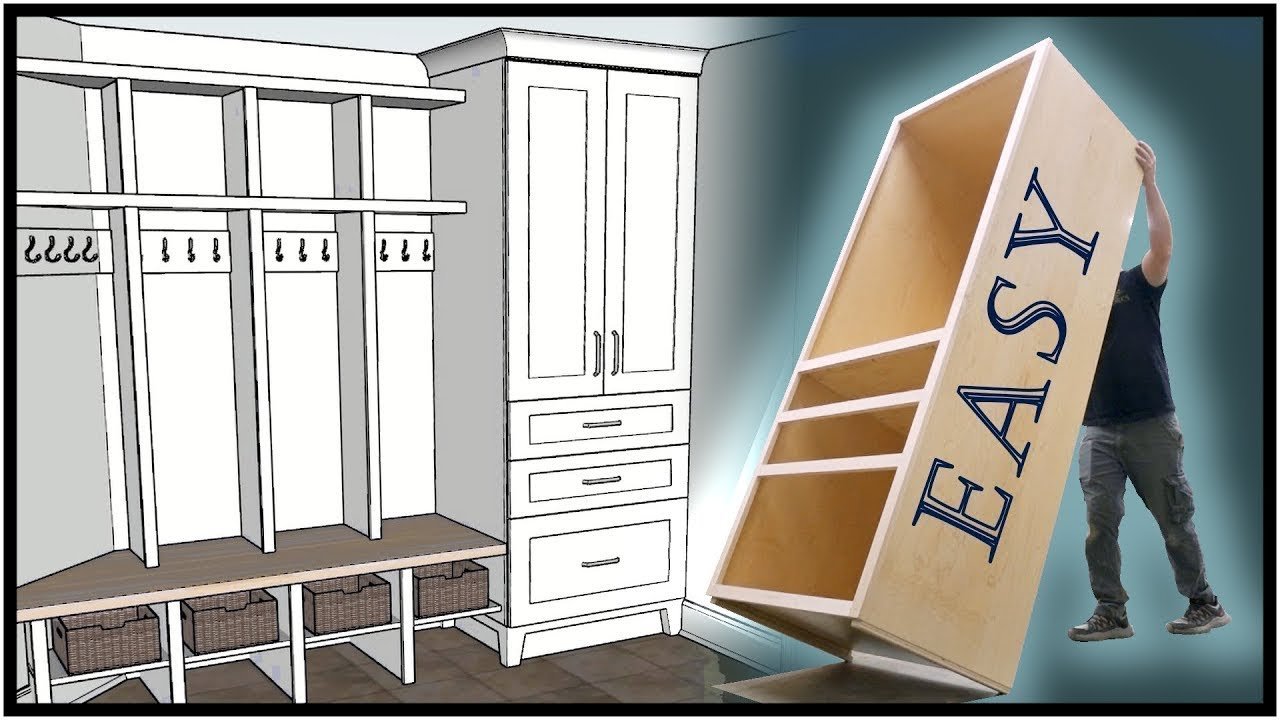
MWA Woodworks built a vertical dust collection cart that carries a 14 gallon Ridgid shop vac with an Oneida Dust Deputy cyclone and bucket on top. The finished footprint, PVC included, is less than two square feet, which the builder describes as only slightly bigger than the vacuum alone.
Sizing the cart around the vacuum
The builder chose the vertical style over a side-by-side cart to minimize the footprint in the shop. To get the dimensions, a box was built around the vacuum up to its widest point, which set the size of the cart bottom. A scrap piece of wood and a straight rule gave a rough height, and the diameter of the cyclone bucket was the last key measurement.
Cutting the parts
The parts come from a 3/4 in. sheet of Baltic birch plywood, described as a very stable, high-ply material that suits shop projects. The bottom and side panels were cut to length and width at the table saw. The upper platform parts and stretchers were cut to length with a crosscut sled.
The base of the cart angles upward to where the cyclone bucket sits, which gives a lighter look and easier access to the vacuum switch. Notches let the stretchers nest into the cart. Four notches were cut at the band saw, using a magnet as a stop and the fence set to distance. The long tapered cuts were made with a track saw, because the panels were too big for the table saw and the band saw would have left a rough edge on the front. A circular saw and straight edge would also work.
Assembly
A hole was drilled in each corner of the bottom panel for the casters. The bottom and side panels were set in parallel clamps, and a clamp acted as a spreader while checking for square. The sides were screwed to the bottom in pre-drilled holes. The upper and lower back stretchers went into the notches and were screwed in place. A front stretcher acts as a lip that stops the vacuum rolling out.
For the top, the platform panel butts against the upper back stretcher with four screws, a front panel goes on with three screws, and two side panels are fastened from front and back with two screws each. Four 3 in. casters were secured with lock washers and lock nuts, with the cart turned on its side so each could be tightened with a wrench and pliers. The vacuum fit with almost no wiggle room, and the bucket slid into place on top.
Holding the cyclone and connecting the hose
Two dividers with 3/4 in. holes drilled at the drill press were glued and screwed on either side of the bucket. Two bungee cords hooked into those holes hold the cyclone and bucket down, and the vacuum attachments are stored in the area between the dividers. A hole saw cut a spot for the broom attachment.
With no spare dust hoses on hand, the builder used PVC pipe for a cleaner look with no hoses flopping around. A cyclone hose adapter goes on the vacuum, two 90° elbows form the connection, and a rubber pipe connector at each end joins the cyclone to the vacuum. The on-off switch stays easy to reach, and the 3 in. casters let the cart move around the shop.
Questions this video answers
Why a vertical cart instead of side by side?
The builder chose the vertical style to minimize the footprint in the shop.
What material is the cart made from?
3/4 in. Baltic birch plywood.
How is the cyclone held in place?
Two dividers with 3/4 in. holes take bungee cords that hold the cyclone and bucket down.
How is the cyclone connected to the vacuum?
With PVC pipe, two 90° elbows, a cyclone hose adapter on the vacuum and rubber pipe connectors on both ends.
What can you use instead of a track saw?
A circular saw and straight edge would work for the long tapered cuts.
How big is the footprint?
Less than two square feet including the PVC.
Explore related projects
Connected by the topic: Woodworking