Building Laundry Room Cabinet Boxes and Maple Face Frames
The short version
Part 1 of a two-part laundry room build shows how to make cabinet boxes from pre-finished maple plywood, using dados, glue and pocket holes, plus a nook, clothes hanger and separate toe kicks. It then covers milling maple for face frames and building the frames directly on the boxes with Domino joinery. Alternatives are given for those without dados, a jointer or a Domino.
Full written account
How do you build professional-grade cabinet boxes for a laundry room with only a table saw, plywood and pocket holes? In the first part of a two-part laundry room build, Fortress Fine Woodworks starts in a new 2500 square foot warehouse shop, which he describes as ten times the area of the single-car garage he worked in before.
The box design
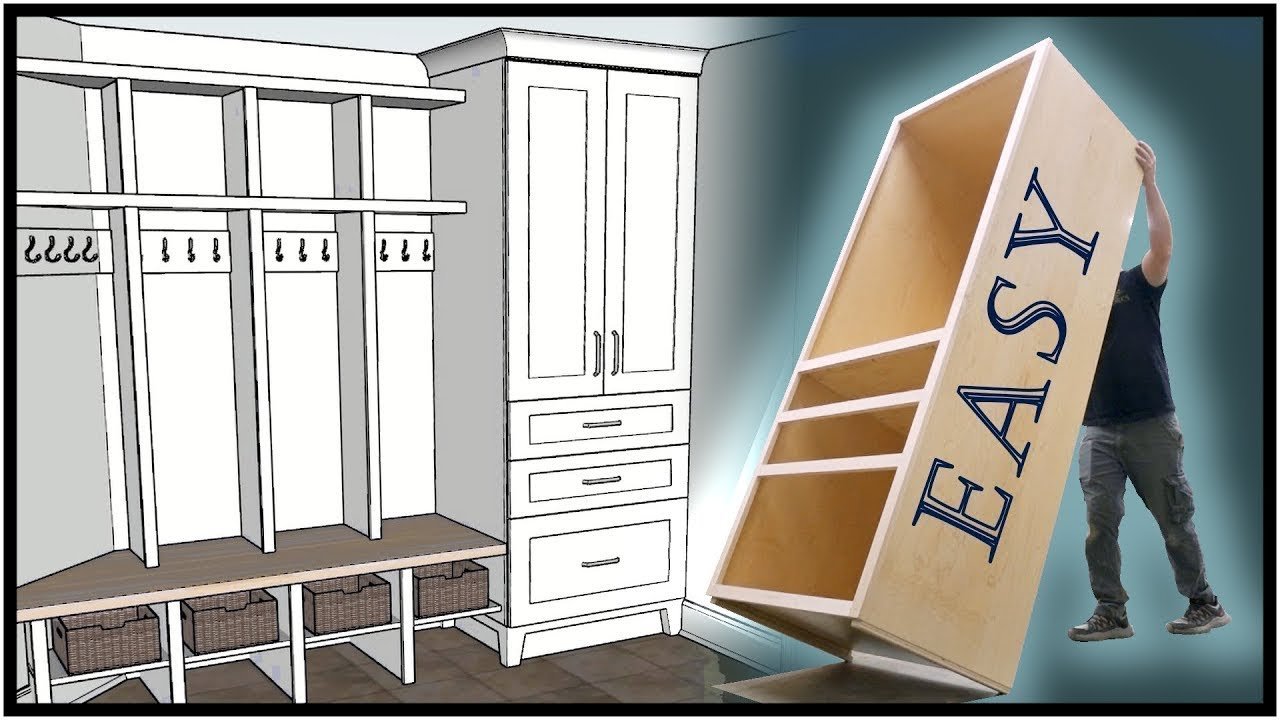
A typical cabinet in this build has two sides, either with a toe kick attached or, here, detached, plus a base, a center, a top, a back and stretchers. The base and back are dadoed into the sides, and everything is held together with glue and pocket holes. The plywood is pre-finished maple veneer, chosen because it produces very high-grade cabinets. The sides are cut first, simply to make efficient use of sheet goods.
Cutting panels and dados
All cuts are made on the table saw, including crosscuts with a sled. The builder notes that some people consider using the fence as a stop block dangerous because a panel could bind and kick back; he has not had an issue as long as the sled supports the panel, and he shows a track saw cut as a safer option. Dados are described as not absolutely necessary, and he advises cutting a test piece first. He uses a dado stack, though a router and guide would also work. For cuts near the center of a long panel he strongly recommends a sled, a stop block and extra support for the sled, and says the saw has grabbed a panel with the dado stack and thrown it at him twice when he skipped those steps.
The base panels are cut narrower than the sides and used as a reference to place the back dado. A rabbet on the front edges brings the final thickness to a half inch. Cutting the stretchers together keeps them identical.
Assembly
Pocket holes go in the non-show sides of the connecting panels and stretchers. He drills test pieces whenever the plywood thickness changes, because the bit's projection changes and screws must not poke out of the show side. The dados cut away the finished surface and expose fresh grain for glue, and the dado or rabbet locates the panel exactly if the cuts are accurate. The quarter-inch back is glued into its dado and stapled, which registers the assembly square. The top panel is backset 3/16 of an inch for the face frames. Temporary cleats on the bottom of heavy cabinets protect the fragile plywood edges. For those skipping dados, the half-inch wall cabinet is built with no rabbets or dados: mark the panel position and sink the screws.
Accessories and toe kicks
The nook, made from three-quarter panels thinned to a half inch on the front edge, is assembled without grooves using Brad nails and screws, with a pre-cut board setting the spacing. The clothes hanger has a half-inch top, a half-inch back and a three-quarter center divider. Toe kicks for the tall cabinets are built separately from three-quarter plywood, since an attached toe kick often prevents tilting the cabinet upright without scraping the ceiling. On the tower cabinet the toe kick is set back about two and a half inches so the faux leg assembly can end flush with the outer cabinet.
Milling maple and building face frames
He mills his own maple using a three-phase jointer that handles 16 inch boards and a 25 inch planer with 15 horsepower, which he contrasts with the three to five horsepower of most large motors. The planer cutter heads needed turning to a fresh side, and he says there are 174 individual knives. A small dust collector, used because his large Laguna isn't set up, jammed full of fluffy maple shavings and backed up to the planer. The shavings will be donated to horses.
Face frame stiles are cut at an inch and a half final width, with about 3/16 of extra width first because maple warps when cut into strips. The frames are dadoed, either centered or offset 5/16 from the edge. The best check of fit is building the frame directly on the box: the stiles are notched with a Japanese saw and chisel where cross sections interfere, and the rails are cut to measured lengths. Joinery is Dominoes, with a dowel jig or pocket holes from the back as alternatives. The top rail isn't dadoed, so it can move up and down while the bottom rail locates everything. The frames are held on temporarily with pocket holes where hidden, and glue is added after finishing.
Questions this video answers
How are the cabinet boxes held together?
The base and back sit in dados in the sides, and everything is held with glue and pocket holes.
Do you have to cut dados?
No. The video says dados aren't absolutely necessary; the half-inch wall cabinet is built with no dados or rabbets, just marked positions and screws.
Why are the toe kicks built separately?
If the toe kick is attached, the cabinet often can't be tilted upright without scraping the ceiling, so the toe kick is installed first.
What joinery is used for the face frames?
Dominoes, though a dowel jig or pocket hole screws from the back are given as alternatives.
Are the face frames glued to the boxes?
Not yet. They are held temporarily with pocket holes where hidden, and glue is added after finishing.
Explore related projects
Connected by the topic: Build built-in bookshelves