Laundry Room Renovation: Built-In Cabinets and Butcher Block
The short version
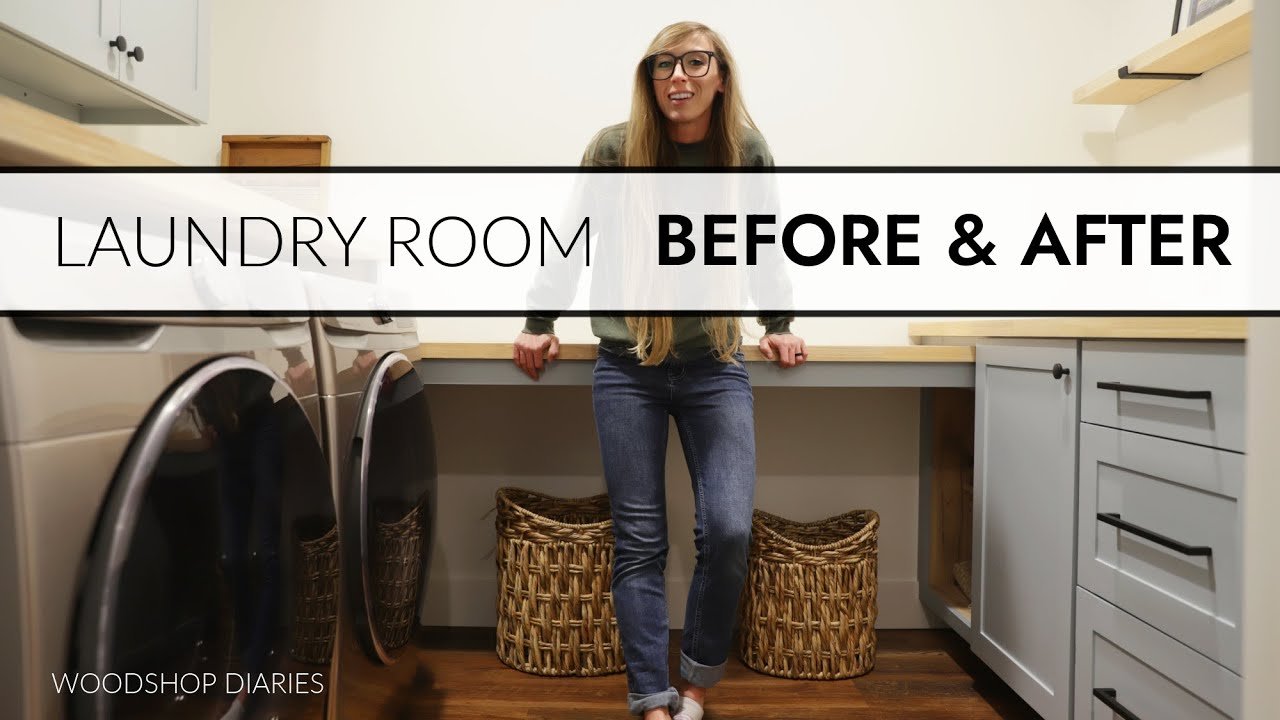
A dark, sparsely furnished laundry room is gutted, patched with mesh tape and joint compound, painted white, and fitted with four base cabinets on the right wall, an open-shelf cabinet beside the dryer, butcher block countertops, a countertop over the washer and dryer, and two wall cabinets. The video also shows a drying rack drawer built from 3/4 in. plywood and 3/4 in. dowels, plus trim, toe kicks and how the countertops were secured.
Full written account
A laundry room with two particle board wall cabinets, some pieced-together shelves and little else besides the washer and dryer became a room of built-in cabinets and butcher block countertops. The plan was to put cabinets along the right wall where the open shelves had been, add cabinets and a countertop above the washer and dryer, and run a third countertop across the back.
The plan and the demo
The goal was more storage, as much countertop space as possible, and a brighter room. The builder admitted not needing this much cabinet storage, so the space under the back countertop was left open and no extra wall cabinets were planned at first.
Demo turned up giant holes in the wall that had been covered with 1x4s, and everything had been glued to the wall. Once everything but the washer and dryer was out, the holes were patched with mesh tape and joint compound. White paint went on everywhere that would be seen, not behind where the cabinets would sit.
Cabinets and the drying rack drawer
Four cabinets went along the right side: two with doors, one with drawers and one left open. The open one goes against the back wall, and the top of its face frame was made thicker on purpose, to support the back countertop later.
For the laundry room, one cabinet got a drying rack drawer, which is a shallow drawer without a bottom. Drawer sides were cut from scrap 3/4 in. plywood. Seven marks were laid out equally spaced from the middle, and a 3/4 in. Forstner bit drilled holes about 1/2 in. deep for 3/4 in. dowels. The box was assembled with pocket holes, the dowels were not glued (though they could be), and drawer slides were added. A spray clear coat on the rack before adding the slides is recommended, a step skipped in the rush.
Installing the cabinets and countertops
Cabinets were carried in one at a time, leveled with shims, joined through the face frames and screwed to the wall studs. Pre-made butcher block tops were trimmed to fit; they were heavy and a tight fit.
Another open shelf cabinet box, a few inches shorter than the other base cabinets, went beside the dryer to support the back countertop. The end of that countertop rests on a piece of scrap clamped to the tall face frame. This top was by far the most difficult piece, and at first it was about an eighth of an inch too long.
The countertop over the washer and dryer needed support at both ends. Because the connections were already high on the wall, no support was run along the back. Scrap plywood was secured to the wall on one side, and a 3/4 in. plywood panel screwed to the cabinet stood between the dryer and the cabinet on the other. Two wall cabinets were then hung on the studs and screwed together through the face frame.
Trim and fastening
Toe kicks, top cabinet trim and a support piece for the back countertop were cut and painted before installation. The top trim was cut from 1x4s, glued and nailed together at the corner and installed as one piece to avoid a corner joint in the air. A 1×3 apron went under the back countertop, fastened with pocket holes and screws, mainly for looks.
After the trim was puttied, caulked and touched up, the countertops were secured. Screws with washers were driven through oversized holes in the top supports of the base cabinets, letting the top expand and contract; this was done at the front and back of two of the four cabinets and on the back countertop's cabinet by the dryer. On the supported side, the top was toenailed. The countertop above the washer and dryer was intentionally left unsecured so it can be lifted to check connections in the back. Trim screws or corner brackets would hold it if desired.
Five of the seven cabinets are empty. A shelf from a countertop offcut on shelf brackets was added to the right wall.
Questions this video answers
How is the drying rack drawer made?
It is a shallow drawer box without a bottom, with seven 3/4 in. dowels set in about 1/2 in. deep holes drilled with a 3/4 in. Forstner bit, assembled with pocket holes and mounted on drawer slides.
How are the butcher block countertops secured?
Screws with washers go through oversized holes in the cabinet top supports so the top can expand and contract. One side of the back countertop is toenailed.
Why isn't the countertop over the washer and dryer secured?
It was left loose on purpose so it can be removed quickly to check the connections in the back without pulling the machines out.
What was done to the walls before painting?
Holes were patched with mesh tape and joint compound, then the visible areas were painted white.
Explore related projects
Connected by the topic: Build built-in bookshelves