Epoxy Garage Floor: Grind, Prime, Roll and Seal a 750 sq ft Slab
The short version
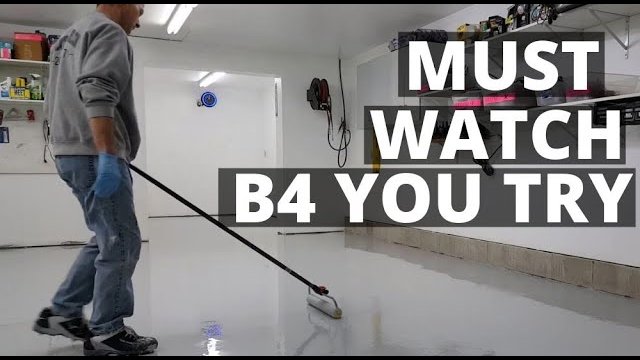
A contractor shows how his crew coats a roughly 750 square foot garage floor with a tinted 100% solids epoxy. Steps include grinding off the old coating with a diamond blade grinder hooked to a vacuum, patching cracks and divots, wiping with denatured alcohol, then a moisture-blocking primer, the colored epoxy squeegeed and back-rolled, and a urethane top coat. The full instruction is pointed to a paid course.
Full written account
A single three-gallon kit of 100% solids epoxy covers only about 300 square feet, so a 750 square foot garage floor takes more than two kits, according to a contractor who coats floors like this for his business. The product is spread at roughly 100 square feet per gallon, which makes it go on thick.
Why big-box coatings fail
The contractor says he is usually called to basements and garages where homeowners applied a big-box-store epoxy that is now peeling or blistering, whether a month, six months or a year later, often where the tires sat. In his view the cause is poor concrete prep and no primer, since sellers don't explain how to do it. He says those coatings go on very thin and that his crew grinds many of them off each year before coating over the bare concrete.
Prep
His crew usually prepares concrete with a grinder and diamond blade connected to a vacuum. The same approach removes paint or an old epoxy coating, and he calls the grinder the best and easiest way. An alternative is a diamond brush, which can usually be rented at a Home Depot and runs on a floor buffer with diamond grit pads; some come with a vacuum hookup. He says hand grinders work a little better on an existing epoxy coating.
Cracks and divots are filled with patch repair material and ground smooth. The floor is then vacuumed and wiped down with denatured alcohol to remove dust.
Primer and epoxy
The primer prepares the concrete and blocks moisture that might come up through the floor and blister the coating. Depending on the brand it takes three or four hours to dry, or it can sit overnight before the colored epoxy goes on the next day.
The epoxy, light gray here, is usually mixed two parts A to one part B, with directions on the kit. Once mixed it heats up and starts to set, so the crew dumps it out of the bucket onto the floor to gain working time. One person cuts in the edges, one spreads, and one mixes; he says two people could do it. He squeegees the epoxy out first, then back rolls with an 18-inch roller, rolling north-south and then east-west. The coating then self-levels.
Top coat
The last layer is a urethane (polyurethane) top coat. Clear and pigmented versions exist, and here a light gray pigmented one matches the epoxy. He describes urethane as hard and scratch resistant, protecting the epoxy. With primer, epoxy and top coat, he says the three coatings should last for years as long as the floor doesn't have a lot of moisture under it.
Questions this video answers
How do you prep the concrete?
Grind off any old paint or epoxy with a grinder and diamond blade hooked to a vacuum, or use a diamond brush on a rented floor buffer. Fill cracks and divots with patch repair material and grind smooth, then vacuum and wipe with denatured alcohol.
Why use a primer?
It prepares the concrete for the epoxy and blocks moisture that might come up through the floor and blister the coating.
How long does the primer take to dry?
Three or four hours depending on the brand, or leave it overnight and apply the colored epoxy the next day.
How much epoxy is needed?
About 100 square feet per gallon, sold in three-gallon kits that cover about 300 square feet each.
What is the top coat for?
A urethane top coat is hard and scratch resistant and protects the epoxy.
Explore related projects
Connected by the topic: Flooring