Setting a Schluter Shower Pan and Curb for a 3×5 Walk-in Shower
The short version
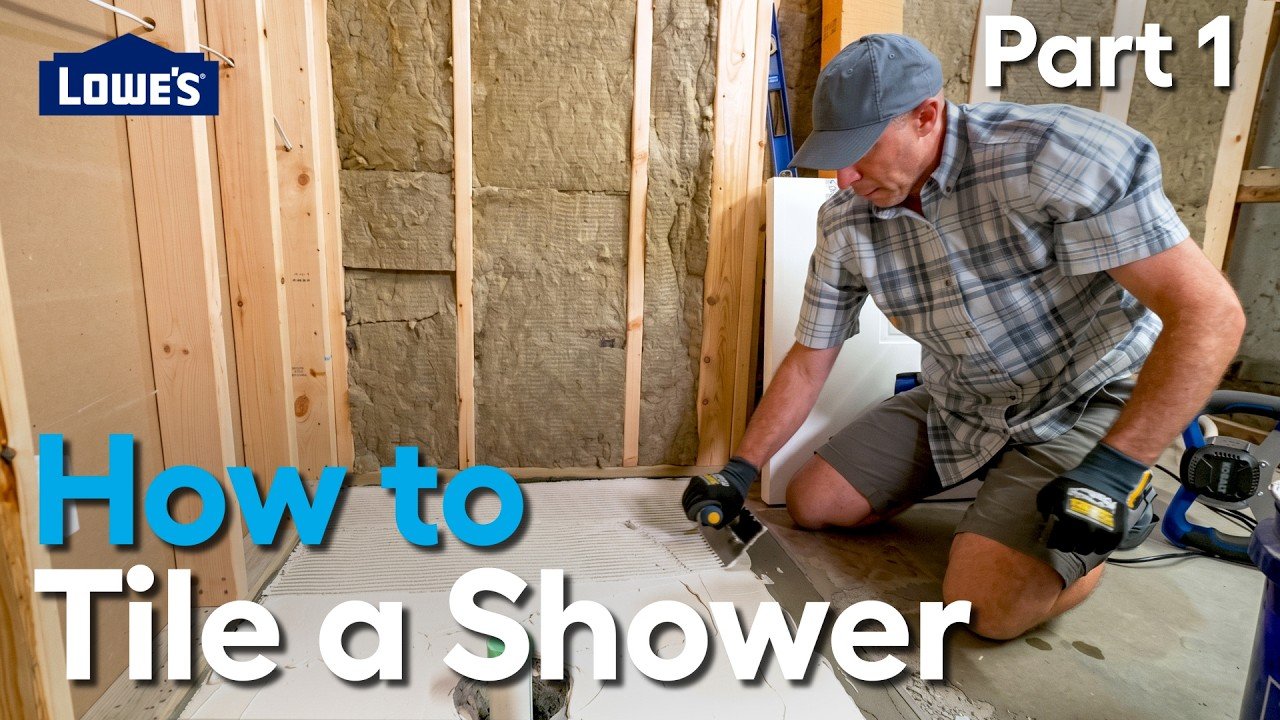
Part 1 of a four-part walk-in shower tiling series covers planning the framing and plumbing, leveling the substrate, and setting a pre-formed Schluter foam shower pan in thin set. It also shows gluing the PVC drain connection, installing the Kerdi membrane around the flange, and cutting and setting the curb.
Full written account
A 3×5 walk-in shower opening, framed with traditional wood and checked for plumb, level and square, is the starting point for tiling a shower in this four-part series from Lowe's Home Improvement. The first video covers planning the plumbing, installing the shower base and setting the curb. The host calls it a more advanced DIY project.
Planning the frame
The walls were framed 90 degrees to one another so the floor has no odd grout lines or angled cuts and the walls show no vertical lines broadcast across the grout. An out-of-level ceiling line produces skinny slivers of tile that grow into big tiles. Valves and drain lines should be centered. Choices such as curbless entry, a traditional curb, frameless glass, a half wall, bench seating or shampoo niches affect framing, so they are decided before any tile goes on the wall.
The water lines should be charged and under pressure so any leak is found before the wall is closed in.
Substrate and pan
The pre-formed Schluter pan has about an eighth of an inch of slope toward the drain, which will not overcome a badly unlevel substrate. Floor leveler was poured in the shower area and cured for a couple of days. The pan was then dry fit, cut and set in latex-modified thin set.
The pre-formed curb comes in standard 48 and 60 inch widths; this one was framed for 60 inches. The pan is cut from the center of the drain, not measured from the frame. Here the drain was 17 inches from the wall and 17 inches from the curb. Schluter also makes offset-drain and linear-drain pans for remodels where the drain is not centered. The foam cuts with a knife in a few passes, without dust, and safety glasses are worn because the blade can snap.
Mixing and troweling
Because the floor leveler is cementitious, it can pull water out of the thin set and weaken the bond, so it is primed or wiped with a slightly moist sponge. The All-Set powder is mixed water first in a clean bucket, with a respirator, gloves and a shop vac for dust. A mud mixer is used instead of a cordless drill because the mix needs a lot of torque. The thin set slakes for a few minutes, then is mixed again to a peanut-butter consistency.
It is applied with a 1/4 by 3/8 notched trowel, flat side first, then combed in one direction at about 45 degrees. Any light spot is filled and recombed, since a void under the pan is a bad deal. The pan is set and the host walks over it, the "Schluter shuffle", to compress the ridges evenly, then works the flange area down by hand.
Drain connection
The temporary riser pipe is removed, and the depth from the drain hub ridge measured about 3 inches. The PVC is cut, dry fit, primed and glued over a bucket lid to keep chemicals off the pan. After gluing, the fitting is held with even pressure for 30 seconds with a quarter-inch rotation, because the solvent weld pushes the parts apart. Thin set must not drop down the drain.
A piece of Kerdi membrane is then set in thin set with a different trowel around the flange, and a small drywall knife helps work the Kerdi band. Unless the municipality requires a water test and a 24-hour wait, tiling can begin once this step is complete.
The curb
The curb comes 6 inches high; it was cut to three and a half by scoring both sides with a knife. It is set the same way as the pan, with even coverage before combing. A pull-back check showed a light front edge, which was reloaded. The curb is pitched with the high side toward the bathroom and the low side toward the drain, by buttering the outside edge heavier, and checked with a level.
Questions this video answers
Why pour floor leveler before setting the shower pan?
The pre-formed foam pan has about an eighth of an inch of slope to the drain, which won't overcome a badly unlevel substrate, so floor leveler was poured in the shower area and cured a couple of days.
How do you size the pan to center the drain?
Cut from the center of the drain, not by measuring from the framing. In this build, the drain was 17 in. from the wall and 17 in. from the curb.
Why dampen the floor leveler?
The cementitious floor leveler can pull water out of the thin set and weaken the bond, so it should be primed or lightly dampened with a slightly moist sponge.
How long should PVC be held after gluing?
Press the fitting down with even pressure for about 30 seconds, with a quarter-inch rotation as it is set, because the glue's reaction pushes the parts apart.
How should the curb be pitched?
Pitch it so the high side faces the bathroom and the low side faces the drain, by buttering the outside edge a little heavier, then check with a level.
Is a water test needed with this system?
Unless the municipality requires a water test and a 24-hour wait, tiling can proceed right after this step is complete.
Explore related projects
Connected by the topic: Tile a shower