Kerdi-Board Shower Walls: Fastening and Waterproofing Seams
The short version
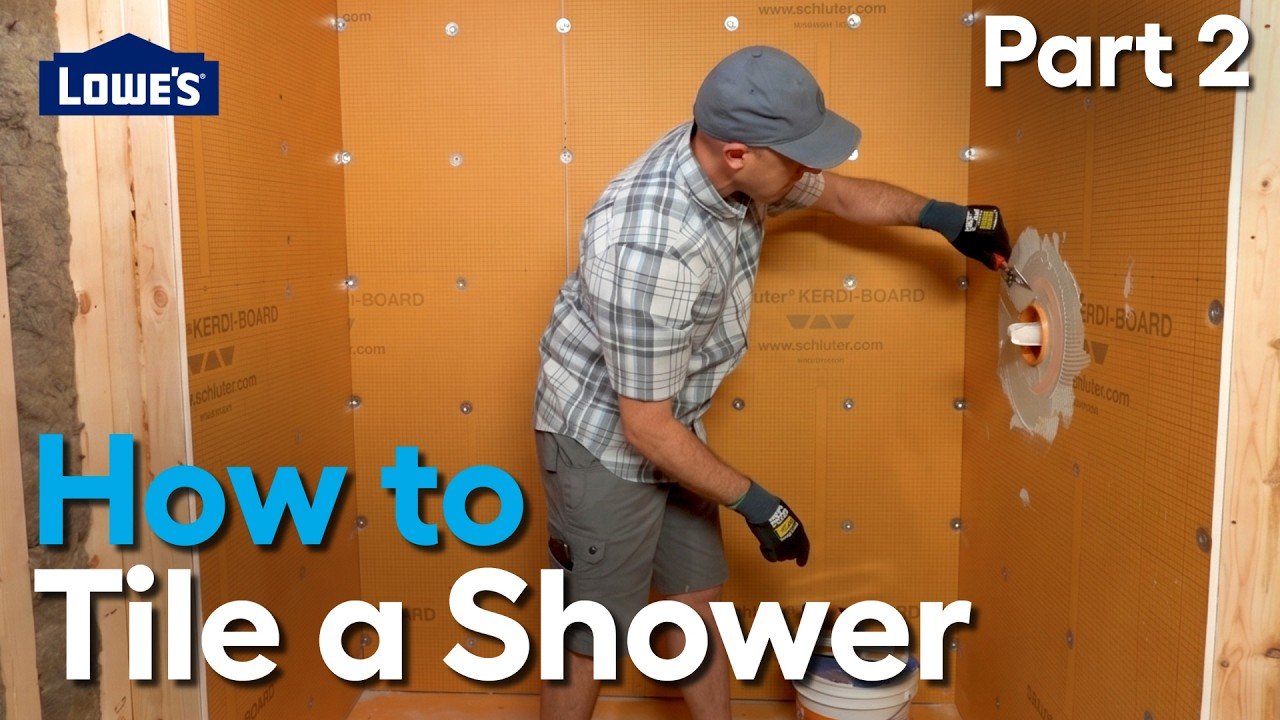
Part 2 of a four-video walk-in shower tiling project covers fastening Kerdi-Board to the wall studs with washers and screws, then waterproofing it. Preformed corners, gaskets for the shower neck and valve, and Kerdi-Band patches are bedded in All-Set thin-set, ending with the walls ready for tile.
Full written account
How do you take a shower wall from bare studs to a surface ready for tile? In part 2 of a four-video walk-in shower project, the work starts with the curb and pan already in place and moves to Kerdi-Board on the walls, then the waterproofing details that tie the walls to the pan.
Protecting the pan and fastening the board
Before starting, the fresh thin-set on the pan is covered so the drain assembly just detailed isn't damaged, and the installer steps over the curb rather than kicking it. Kerdi-Board needs a utility knife to cut it, a tape measure to mark it, and Kerdi's proprietary screws and washers. The washers are pressed into the board and the screws driven through into the studs. Stud locations and fastening dots were pre-marked, at a 12-in on-center interval for the most part, in keeping with manufacturer recommendations. Each washer should sit flush. The board is notched for the curb and cut with the knife, and the lightweight panel is something heavy concrete board couldn't match.
Gaskets and preformed corners
The drain kit came with gaskets for the shower neck and shower valve, plus inside and outside corners. The corners are one piece, which the installer calls important because that detail is very difficult to make in the field. At every penetration the manufacturer's warranty requires 2-in coverage. Patches cut from Kerdi-Band go over each washer, and band is also used at the inside corners where the board meets the shower pan and at the curb. A 5-in band gives a 2 1/2-in lap on each side of a joint, which meets the warranty.
Bedding the gaskets
All-Set thin-set is mixed and applied with a Kerdi 8×8 notched trowel, held at 45° to create ridges. The gasket is slid over and bedded, and a small putty knife works the thin-set out evenly. The larger rubber section of the shower neck gasket goes on the back side. The shower valve gasket has two opposing sides: one for deeper tile, such as large format up to half an inch thick, and one for subway tile, which projects only a quarter inch. The subway side has a beveled surface so water that gets past the valve trim runs out toward the drain. Excess thin-set is squeezed out and sponged off, since build-up could show through and leave tiles out of plane.
Patches, corners and the pan connection
Kerdi-Band patches are set over the fasteners with 45° trowel coverage, using a smaller trowel to avoid too much material behind them. At the inside corner, thin-set is dragged up the edge, careful not to damage the fleece, and a pre-cut, pre-folded band is installed evenly on both sides. The preformed corner was trimmed below the top of the curb so band can go over it. At the pan-to-wall connection only 2 in of overlap is needed, so bands run from point to point rather than stacking three more layers in the corner. Last, the preformed outside corner laps over the curb and the inside corner piece, with the other side held down so it isn't pulled out. Then the shower is ready for tile.
Questions this video answers
What is needed to install Kerdi-Board on shower walls?
A utility knife to cut it, a tape measure to mark it, and Kerdi's proprietary screws and washers, plus a drill (listed in the description).
How far apart are the fasteners?
The screws go on a 12-in on-center interval for the most part, following the manufacturer's recommendations, with the washer set flush.
How much Kerdi-Band overlap is required?
The manufacturer's warranty requires 2-in coverage at every penetration. A 5-in band gives a 2 1/2-in lap on either side of a joint.
Which side of the shower valve gasket faces out?
Two options face opposite ways: one for deeper tile up to half an inch thick, and one for thinner tile such as a quarter-inch subway tile. The beveled side sends water that gets past the trim out toward the drain.
Why sponge off extra thin-set?
Excess thin-set is sponged off because build-up could show through the surface and leave tiles sitting out of plane.
Explore related projects
Connected by the topic: Tile a shower