Building a Leak-Resistant Shower With a Custom Pan and Kerdi
The short version
A step-by-step build of a shower base and waterproofed walls using a custom Redi Your Way shower pan and Schluter Kerdi-Board with Kerdi-Fix and Kerdi-Band. The video covers checking level, square and plumb, dry fitting, setting the pan in thinset, wet shimming the wall panels, and sealing joints, corners and screw heads.
Full written account
Jeff of Home RenoVision DIY builds a shower on a concrete slab in his Forever Home Series using a custom-ordered Redi Your Way shower pan and Schluter's Kerdi waterproofing system. His argument: in his professional experience, 99% of shower leaks happen at the corner where pan meets wall, or around the drain, and a monolithic pan removes most of that risk.
Checking the space first
The pans arrive extremely square, so a room that isn't square causes problems. Level comes first: check corner to corner with a level. The floor doesn't need to be perfect, but any void must stay within 3/8 of an inch. That allows for dips on OSB or a second floor. His concrete was peaked and bumpy, so he ground the ridges off with a DeWalt grinder fitted with a cup grind blade, which is steel with chunks of diamond in it.
Square is checked by measuring across a couple of stud members to the wall plate. If the space opens up a little, that's fine. If it closes, the new pan may not fit. Plumb comes last: one wall was out almost an inch at the top and was corrected before going on.
Dry fit and setting the pan
A dry fit comes next, because plumbing is usually the tricky part of a renovation. This is new construction on a slab, so the drain pipe had been moved and protected with blocking during the concrete backfill. With access under the floor, the pan can go in first and the plumbing done afterwards. On a slab, the pan is installed with a stub out from the drain that must finish half an inch from the bottom of the floor. If the thinset is applied according to directions, the stub out enters the 2-inch drain at the right height for a good seal.
Thinset was mixed with a drywall-mud paddle, which he admitted was the wrong tool, since a round paddle is the right one. His advice for mixing indoors is a vacuum with a 2-in. plumbing fitting taped on. He spread the thinset with a directional traveling technique, because the pan can only be moved a little once placed. Solvent goes on both the fitting and the pipe, and Oatey transition cement was used to go from ABS to PVC. Two people rolled the pan into place, tapped it with a mallet and checked it with a 2-foot level on the curb. The pan sat overnight and was solid the next day. Everything comes pre-sloped, so anything between the level lines is acceptable.
Kerdi-Board walls
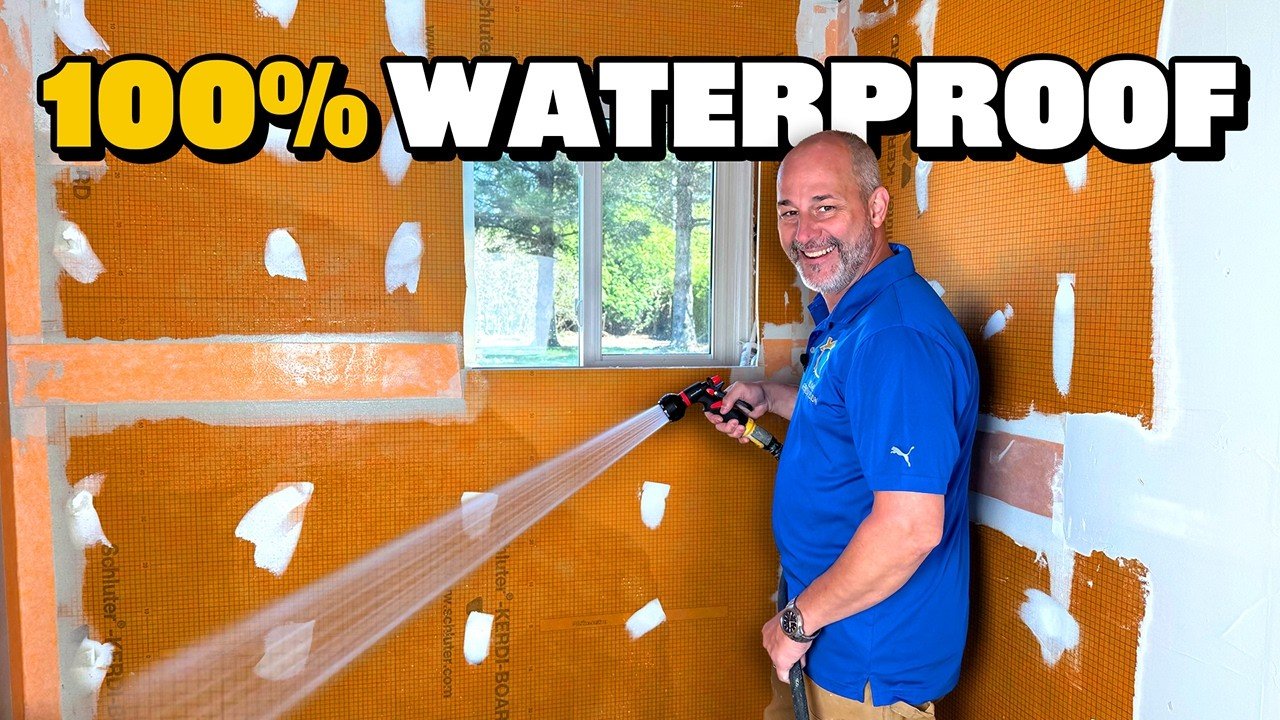
Kerdi-Board is a foam board with fleece on both sides. It is fastened with stainless steel washers and screws from the kit, one every 16 inches by his count, and he checks that the screw sits flush or slightly dimpled so no ridge forms under the tile. The board has a grid where every square is half an inch, which helps locate studs without a tape measure. Offcuts were saved for window jamb extensions.
Before the board goes up, he lays a bead of Kerdi-Fix about 1/4 inch thick along the pan edge and slides the board into it. He calls it 10 times better than silicone and says it costs about 20 or 30 dollars a tube. Excess must be cleaned up quickly because it is very gooey.
Wet shimming
His wall wasn't square, so the board would not sit flush. Rather than add extra thinset under the tile, he wet shimmed: thinset on the studs, the board set on it, and screws placed without compressing it. This keeps the wall depth from changing overnight. Pressure treated lumber was used in the build. The next day the shims were rock hard, and he says the Schluter thinset bonds to plastic-based materials and wood.
Sealing joints and corners
He seals screw holes with Kerdi-Fix, which he says he learned about in his Schluter course. The traditional way uses Kerdi-Band: a square of band is pressed into thinset so the plastic overlaps 2 inches above, below, left and right of the puncture. The fleece bonds to the thinset as it crystallizes. For vertical joints, the band is creased in advance and pressed into the corner with a trowel held at an angle like a snow plow. Too much pressure in a corner that isn't pushed in all the way can cut through the membrane.
Safety: cut the membrane with scissors or a really sharp knife. If you have to tug or pull, you can lose control and put the knife through your hand.
Waterproofing stops 4 to 6 inches short of where tile will extend, since there is no sense waterproofing wall that ends up outside the tiled area. At the base, he distinguishes water diversion from waterproofing: tape alone may only divert water to the corner. He adds Kerdi inside and outside corners, which wrap the corner with no joint, then seam tape over them. If installing over OSB, the membrane can be extended onto the OSB so water has a chance to dry out.
The last step is the gap between pan and wall outside the shower, where he applies a healthy bead of Kerdi-Fix, as with caulk, and flattens it against the orange membrane. He says thinset is only very water resistant, while the sealant is waterproof.
Questions this video answers
How level does the floor need to be?
It does not have to be perfect, but it must be within 3/8 of an inch, with no voids larger than that.
How often are screws placed in the board?
The video says a screw about every 16 in. in one place and about every 12 in. along studs.
What is wet shimming?
Spreading thinset on the studs so the wall board sits flush, then holding it with screws without compressing it until the thinset dries.
Where does the presenter say most leaks happen?
In his professional experience, 99% of leaks happen in the corner or around the drain installation.
Explore related projects
Connected by the topic: Tile a shower