Moving a Large PJM Rhododendron: Digging, Lifting and Replanting
The short version
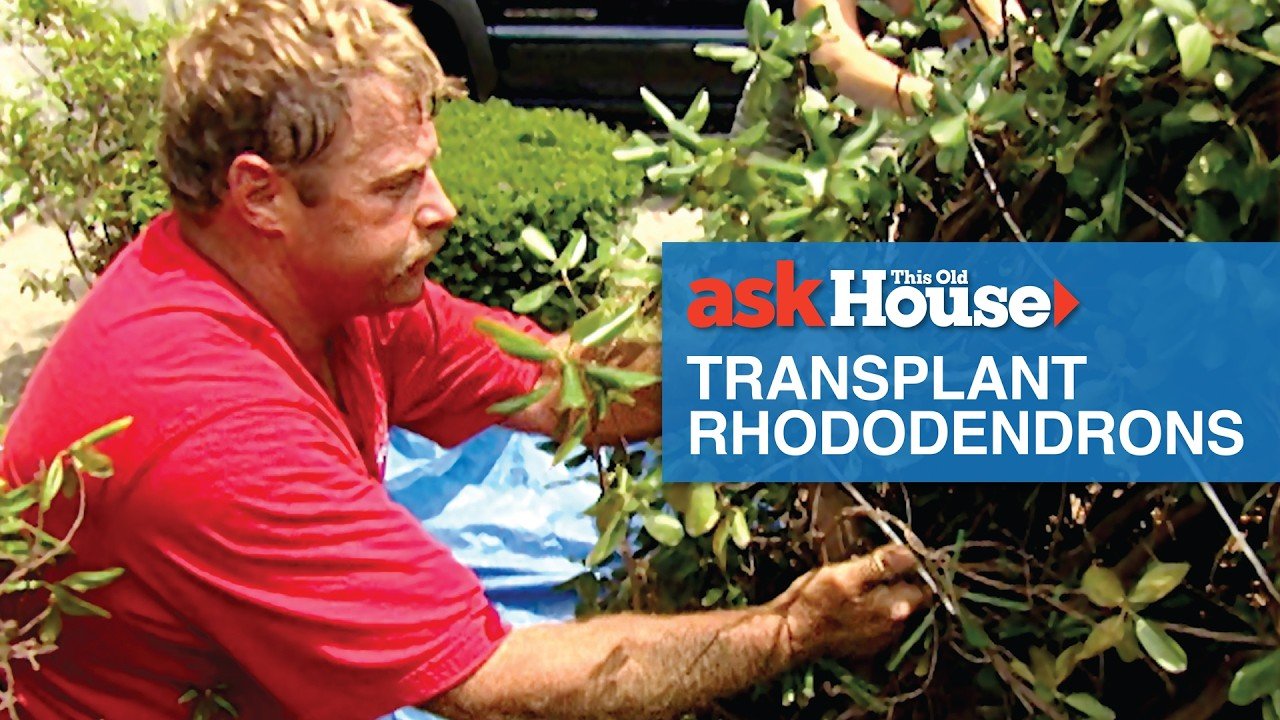
Roger Cook helps first-time homeowners move a large PJM rhododendron to another spot in their front yard to start a privacy screen. He digs a receiving hole twice the size of the root ball, trenches around the plant, cuts roots, tips it out with string and sets it in, then waters and feeds it.
Full written account
Two PJM rhododendrons stand in the front yard of a corner-lot house whose first-time owners want privacy without a fence. Roger Cook of Ask This Old House says the larger one is as tall as he is and as wide as his arms, and that buying a plant that size, if one could be found, would probably cost 4 or $500. The owners, Mario and Jennifer, want to move it to start a planting screen.
Why these plants suit the spot
Roger identifies them as PJM rhododendrons, hybridized by Peter J. Messett. They are a small-leaf rhododendron, which means they can take sun, and the yard has a southern exposure. The owners say the plants were covered in pink flowers when they saw them in April. The new location lines up between the neighbor's front door and the owners' own entrance.
Choosing the time
Roger calls this a great time of year to move the plant. The flower buds are set for next year, so there should be flowers then. The new growth has hardened off, with no light green growth and one uniform dark color, so the move should not stress the plant.
Preparing the receiving hole
Roger marks the center of the new hole in line between the two doors. His rule of thumb is a receiving hole twice the size of the root ball, so Mario digs a roughly five-foot diameter hole a foot deep, to be adjusted once the ball is out. All the soil goes on one edge, because the shrub will be dragged in from the other side. Roger repeats the saying: "Plant 'em high, they won't die. Plant 'em low, they won't grow."
Lifting the shrub
Roger and Jennifer tie a string around the shrub and pull the branches up to reach the bottom. A spade shovel is used to dig a trench parallel to the marked root ball, cutting roots as it goes, because lifting it without cutting would break everything. Roger asks for the trench sides to be dug straight down rather than sloped. Jennifer then uses a transplanting shovel, which has a long metal blade with a sharp edge for cutting roots and a pad for the foot, driven under the plant all the way around. When the plant still does not move, Roger uses a grub hoe to get underneath it further.
The three tip the plant over, holding it by the string rather than the top, and dig out a little more to release it from underneath before dragging it to the hole.
Setting and finishing
Before committing, Roger measures the root ball at about 12 to 13 inches tall. A string held at ground level across the hole shows the hole is about 12 inches deep, so the plant slides in. After the strings are cut, soil goes in and water goes on right away. Roger adds slow-release fertilizer for next year and super phosphate to promote root growth this year, and has them fill in all the way around before watering.
His watering advice is every day for a week, then every other day during the summer. For the smaller rhododendron, he suggests joining its bad side to the bad side of the big one so they look like one grouping.
Questions this video answers
How big should the receiving hole be?
Roger's rule of thumb is a hole twice the size of the root ball; here he has a roughly five-foot diameter hole dug about a foot deep, adjusted once the ball is out.
Why move this rhododendron at this time of year?
The flower buds are already set for next year and the new growth has hardened off to a uniform dark color, so moving it won't stress the plant.
How deep should it be planted?
The root ball was about 12 to 13 inches tall and the hole about 12 inches deep, in line with the saying 'Plant it high, it won't die. Plant it low, it won't grow.'
How often should it be watered afterward?
Every day for a week, then every other day during the course of the summer.
What was added at planting?
Slow-release fertilizer for next year and super phosphate to promote root growth this year.